SOLIDWORKS – Using Reference Planes for Home Made Jerk Blocks DIY
In my last Blog Article “Set Up Reference Planes” I went over the steps to create linked reference planes that would give you a box to work in. In this article I used my new Part Template to create a set of Jerk Blocks. If you do not know what jerk blocks are, they are stackable/adjustable platforms that Olympics lifters use to better develop the Jerk portion of their lift. Instead of coming off the floor or rack, they can start off the blocks for their lift. Once done with the lift, they can drop the weight onto the blocks and reset.
As you might guess, these blocks need to be very sturdy and designed to take some abuse from the dropping of weight. My goal is to build a set, but before I started, I drew up the plans in SOLIDWORKS. There are tons of different designs, and strategies, but this one will work for me.
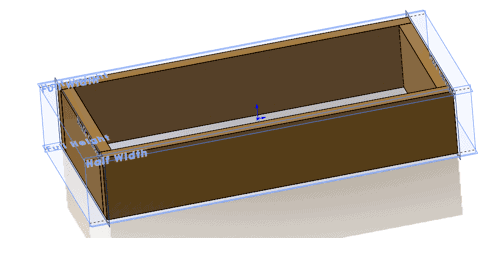
The strategy that I went with was to build the bottom and use standard size lumber for height and thickness. Then use configurations and change just the height of my box by adjusting the Full Height plane location. Keeping everything built around the mid planes and origin allows me to mirror some internal bits and handles with ease.
Adding some details such as a handles, internal structures for added support, and holes using the Hole Wizard was my next step.
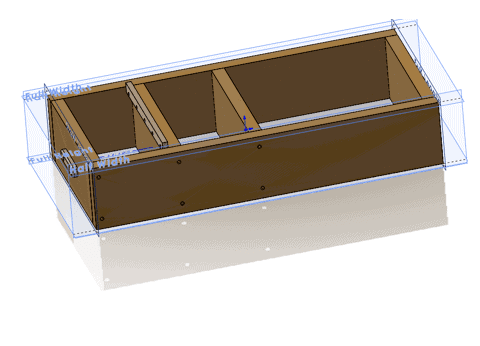
Mirroring next using one of the mid planes we built around, makes the other half simple.

I used the shell thickness value to link the plane offset needed for split bodies. Now if I were to adjust my shell operation, the split bodies would work.
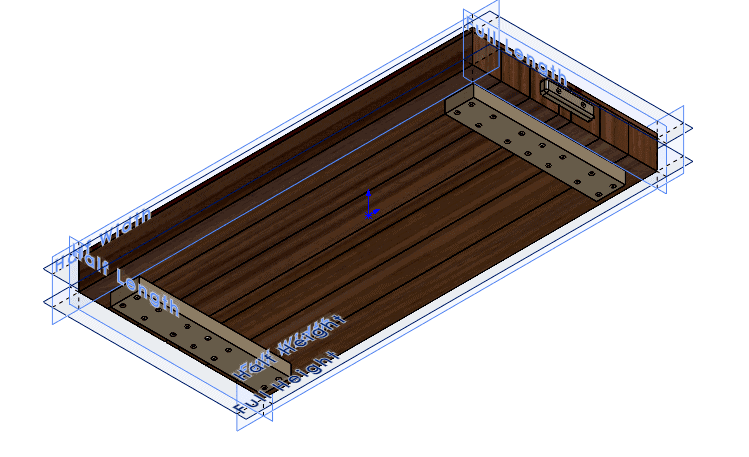
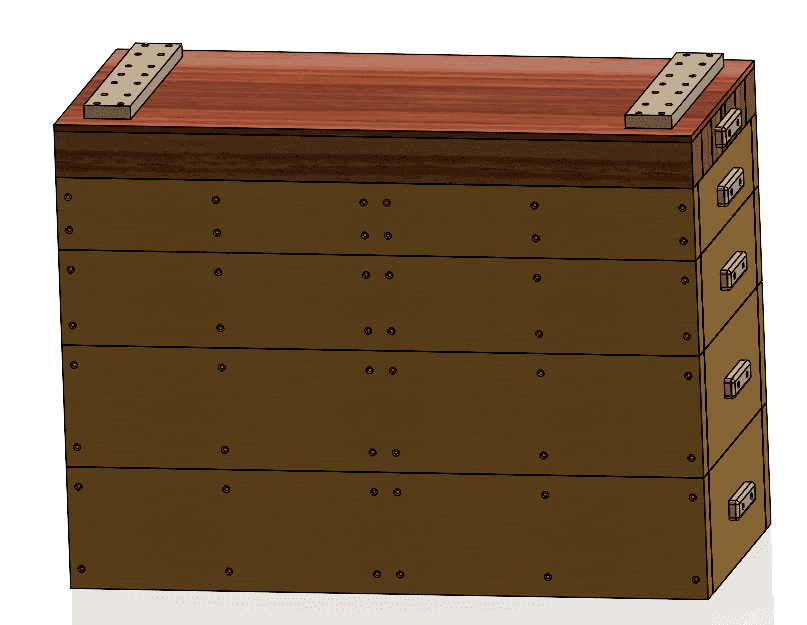
I had to install these two boards using some 1×2 in order to keep the stack from shifting side to side, or front to back. The heavy top piece has a pair of 2×4’s on the bottom that held the 4×4’s as well as keeping it centered. It’s cut a little short so that getting them on or off is easier.

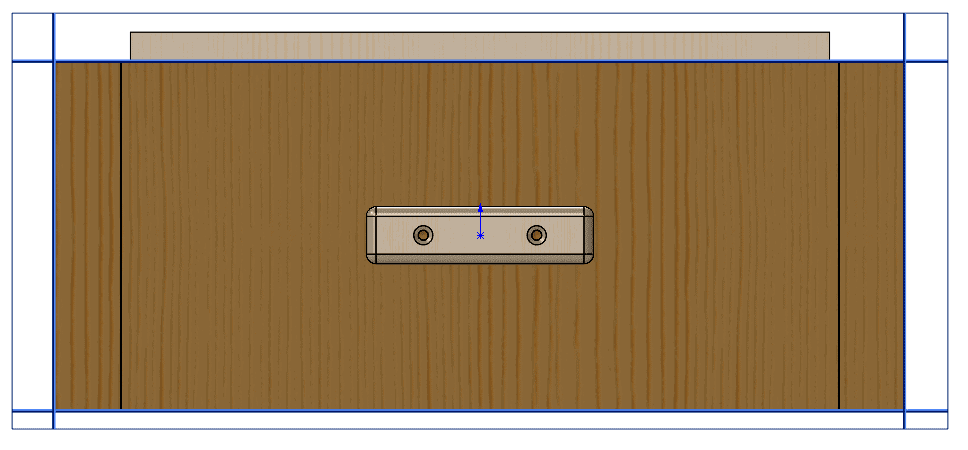
I put the handle piece in the middle using the center corner rectangle, added a few fillets that I’ll most likely just hit the with sander for the fancy fillet. The blocks can adjust in size with the planes but will always be centered in the middle of my block.
Now that the parts are drawn and configuration made, Lets Assemble!
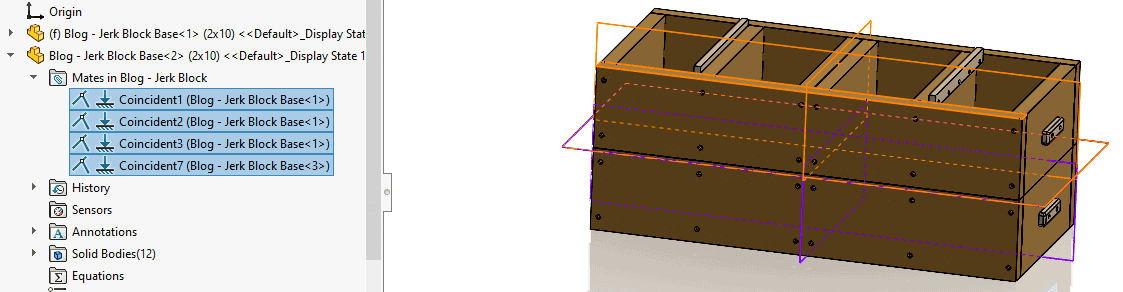
The base is a fixed part as it was inserted first, the second part we can use just the Front and Right planes to center, then mate top and bottom faces.
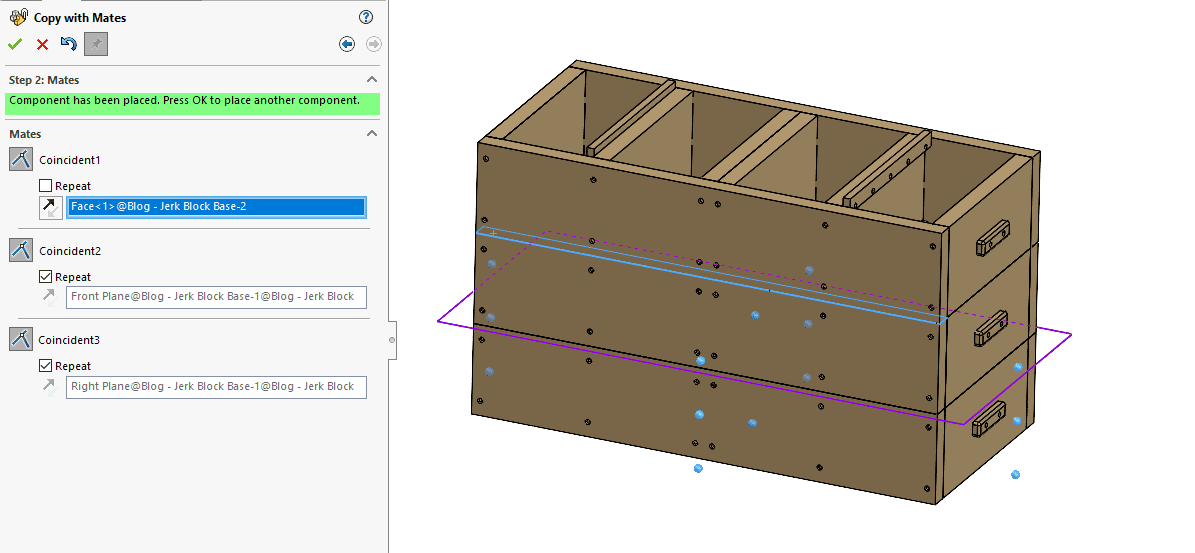
Now some Copy with Mates keeping the Right and Front Planes Mated, then changing the height with the top and bottom face. We can stack the rest quickly using this method.
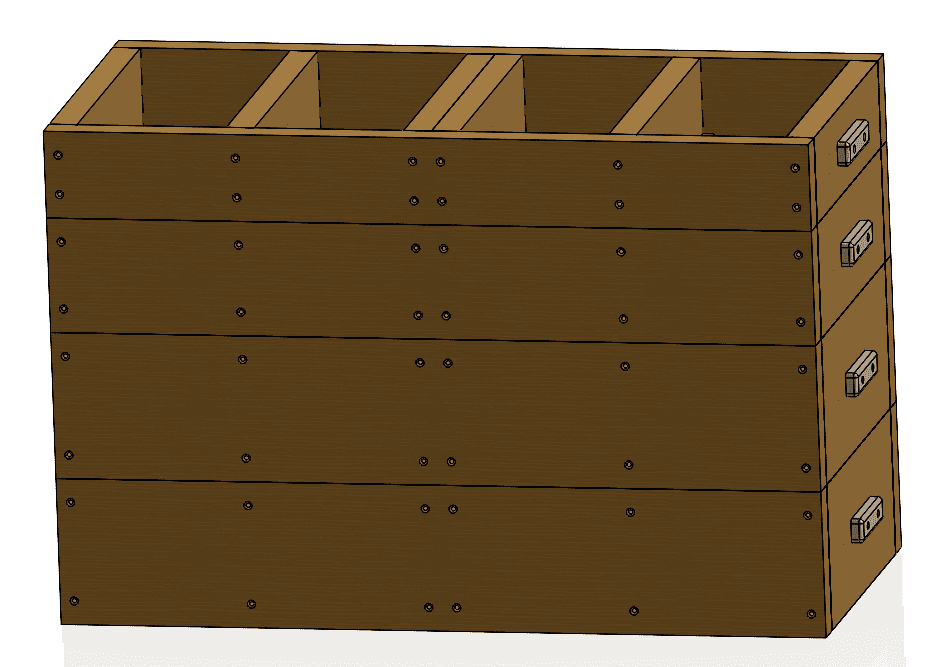
We can change the configurations on two of our 4 blocks to get the height we are looking for.
Add in the top to finish this project off.
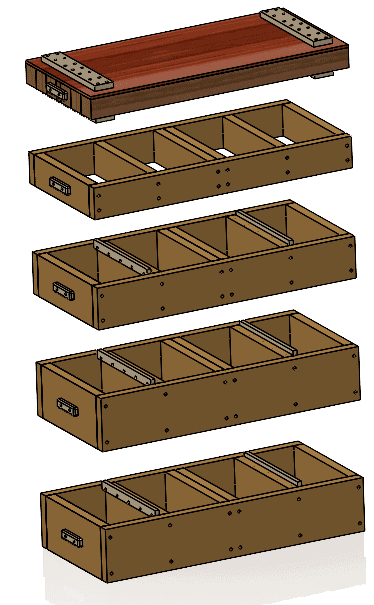
A quick exploded view really helps solidify the idea.
This was a nice weekend project and I was able to have some fun making things with my tools in the garage.
The last blog was a simple concept and I wanted to use the idea. I incorporated a few other tools to help imagine what some possibilities are as I went through my own design process. Keeping the tools I had available in mind is my design intent for the project. If I had access to CNC tools, I would of done things differently.
Craig Maurer
Elite Applications Engineer
Computer Aided Technology