Starting off with SOLIDWORKS Surfacing
Surface modeling in SOLIDWORKS can often be intimidating to new users, so I’m here to put your worries aside. Once there is a decent foundation in solid modeling, many aspects of surface modeling will be easy to migrate to because the same tools are used in both processes. For example, in solid modeling, users may do an Extrude, whereas in surfacing users would do an Extrude Surface. The Property Managers for these two like tools are also very similar.
In this blog, I’m going to start from the beginning and start with the basics.
Surfacing vs Solid Modeling
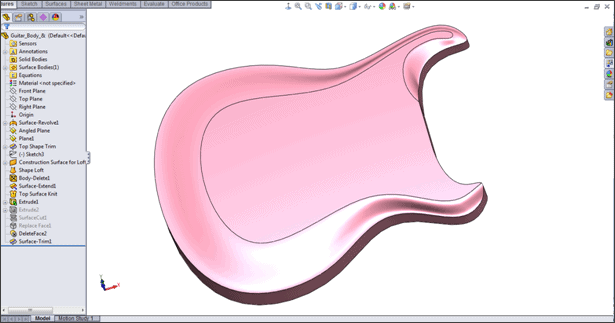
For beginners, it’s important to know what surfacing is as opposed to solid modeling. This will help users decide when it is more efficient or effective to use surfacing in a design. Solid modeling can be described as “prismatic” modeling. Geometry is created with multiple faces at a time, such as sketching a rectangle, and extruding it gives you six faces. In surface modeling, only one face is created at a time.
For the six-sided object previously created in solid modeling, we could create another six-sided object by creating six surfaces instead. These six surfaces can be independent from one another making the outcome much more customizable than a solid extrude especially for more complex modeling.
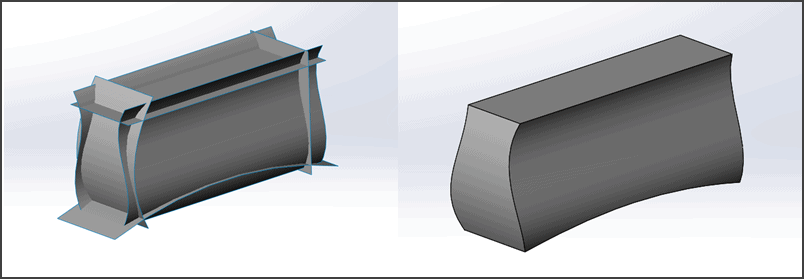
When the model is complete, it typically is not going to be a surface model anymore since surfaces are actually lacking any thickness or mass. Instead, surfacing is typically used to create the appropriate topology, and then one of a few methods can be used to make the model a solid or give it thickness. Along the way, solid model and surfacing modeling may be used (called hybrid modeling), but the end result is typically a solid model. Surfaces are often “reference geometry” until they are turned into real geometry.
Why surfacing is the right choice
So why choose surfacing over solid modeling? First, solid modeling just doesn’t work for some types of shapes such as those that have no flat surfaces. Imagine a hair dryer — no flat surfaces means a straight extrude is not an efficient way to start. While modeling the hair dryer, it would be more efficient to address one face at a time. Once users recognize that there are many 3D curves in a model, they often consider surfacing.
SOLIDWORKS Surfacing training
If you’re ready to dive into surfacing, I suggest launching your SOLIDWORKS software and going to Help > Tutorials. The surfacing tutorial there will give you a decent starting off point, and when you’re ready to learn more, sign up for a CATI class with a certified instructor either in person or online for a full course on the topic.