SOLIDWORKS: Time to Get Into the Zone, the SOLIDWORKS Revision Zone
SOLIDWORKS Revision Zone
Occasionally we get calls about revision zones not matching up with the drawing.
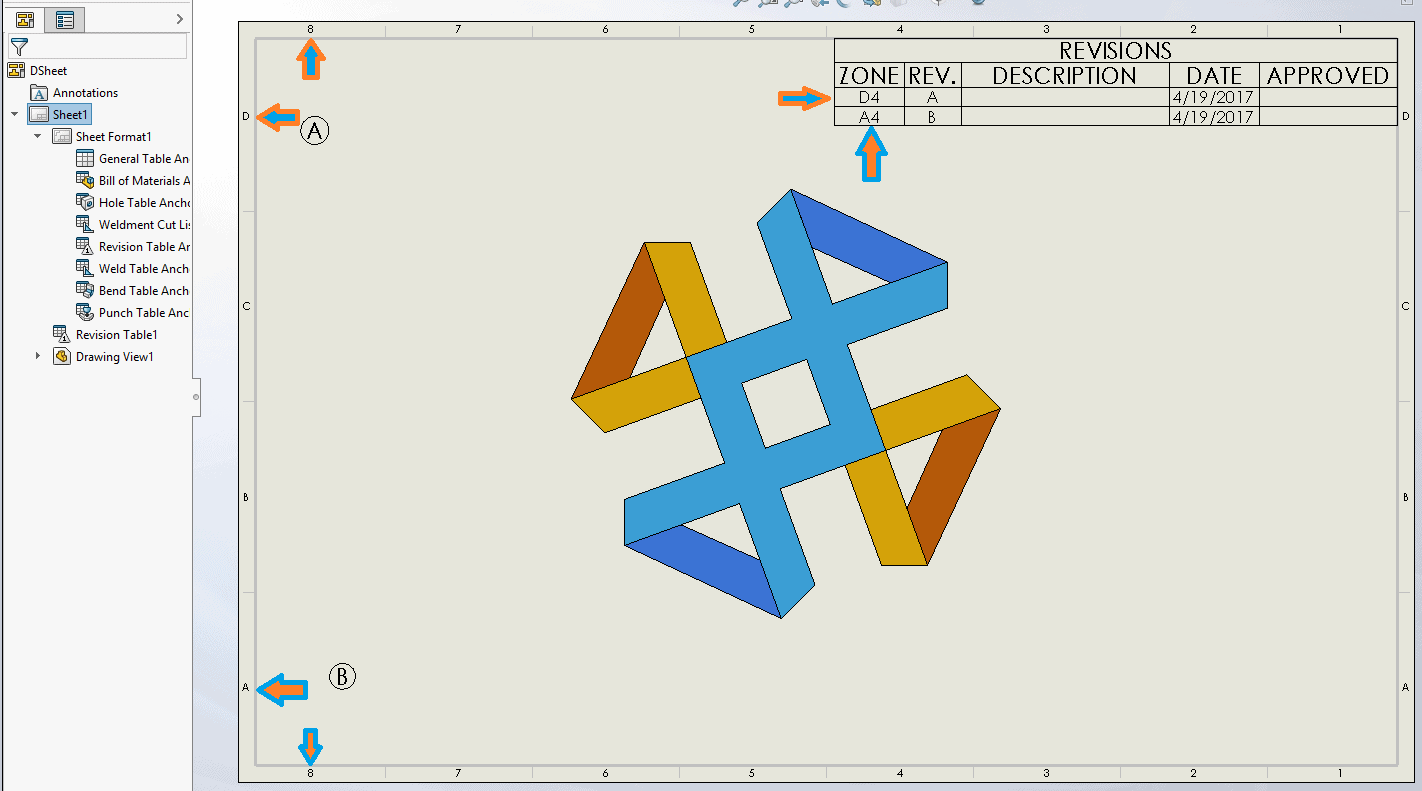
This is an issue that can occur when using legacy sheet formats. As you can see, revision A and B are both in column 8, but the zone shows column 4. This can be corrected by using SOLIDWORKS’ automatic border to update the zone information.
If you edit the sheet format, you can right click in the sheet and select “Automatic Border“.
You will be prompted to select entities that will be deleted when you click on the green checkmark to accept the Automatic Border command:

Typically you will want to select the border lines, notes, and zone dividers for this, but not your title block. Then you click the next arrow. This will bring up the Automatic Border Property Manager:
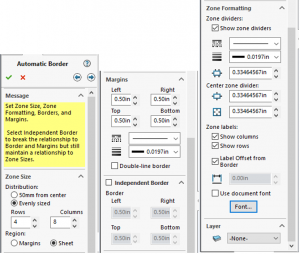
This gives you options for setting the number of rows/columns as well as margins, line fonts, external/internal zone ticks and the layer for your entities to be on.
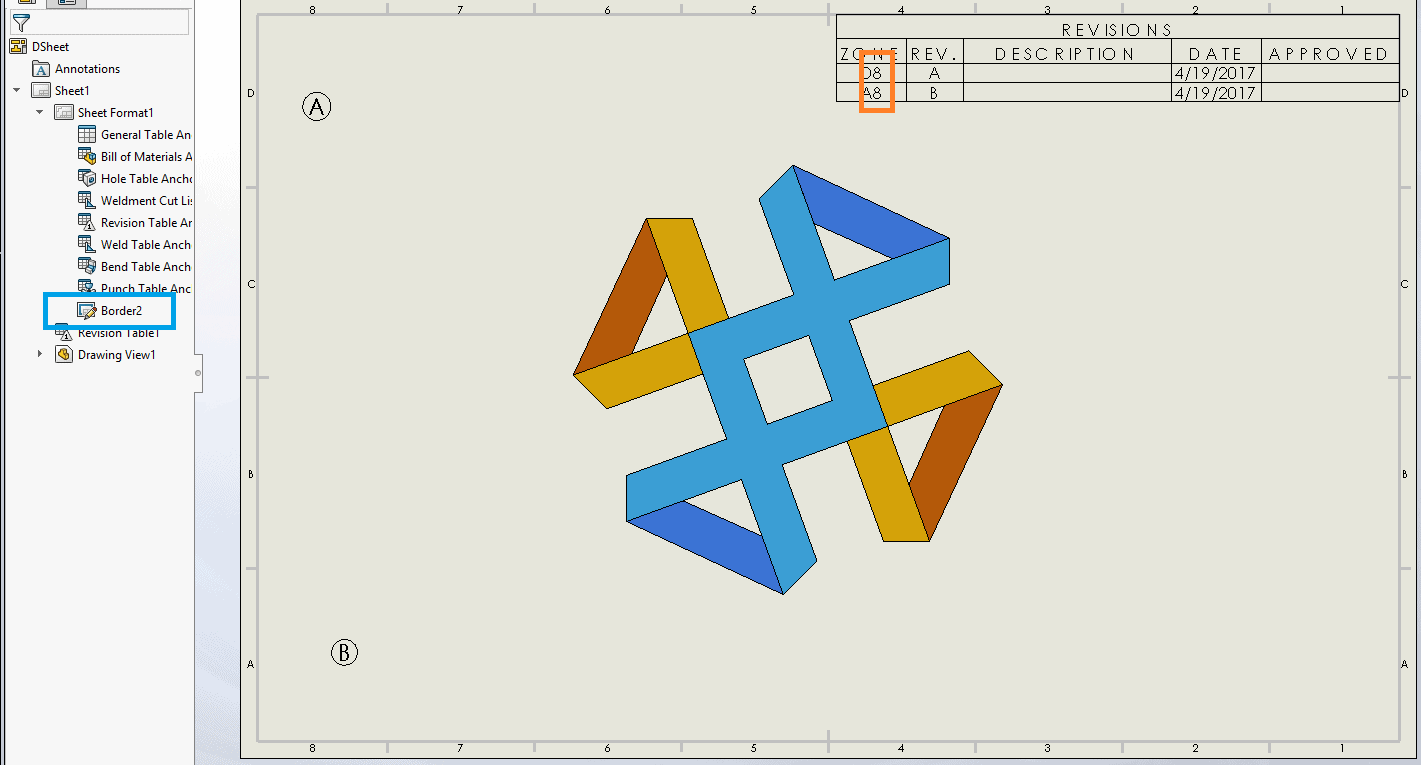
After making these changes, you can see that the column numbers have updated to 8, and there’s now a ‘Border2’ option in the tree for the Sheet Format:
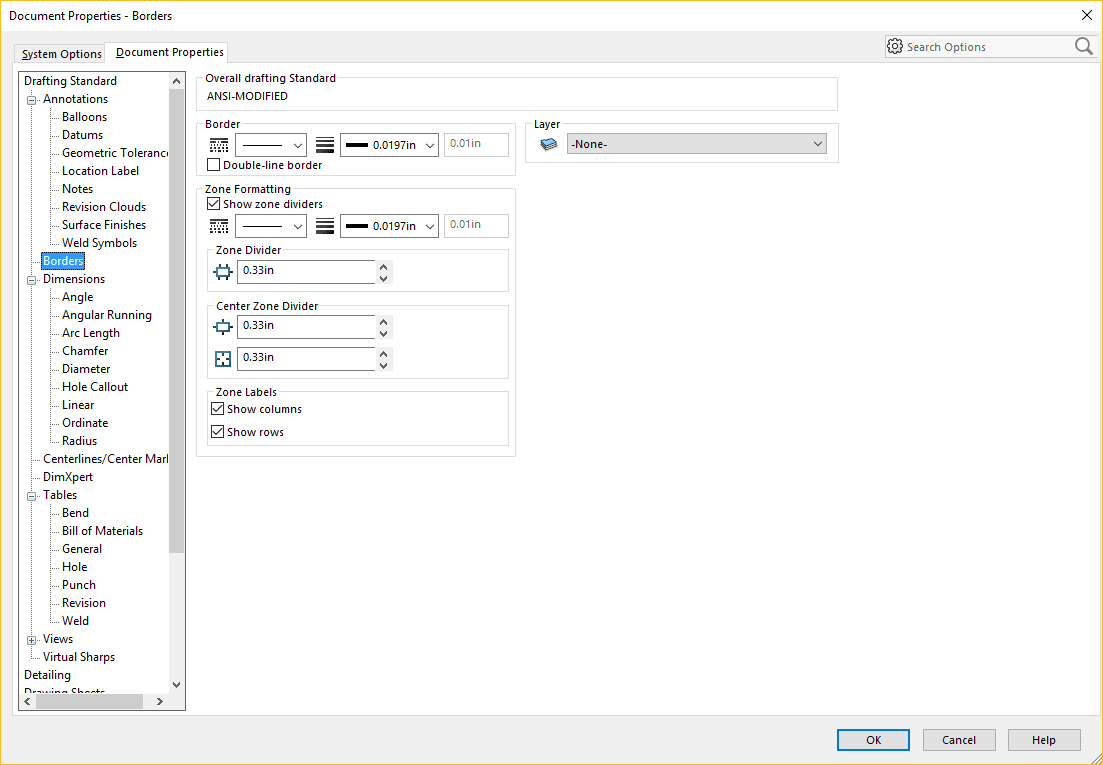
A number of settings that were setup while going through the Automatic Border can be changed via Tools -> Options -> Document Properties -> Borders:
Fred Zobel
Senior Support Engineer
Computer Aided Technology