Using a SOLIDWORKS Network License Manager with Windows Firewall
Have you just successfully installed your SOLIDWORKS Network License Manager on a server computer and when you launch SOLIDWORKS on a client computer get this message?
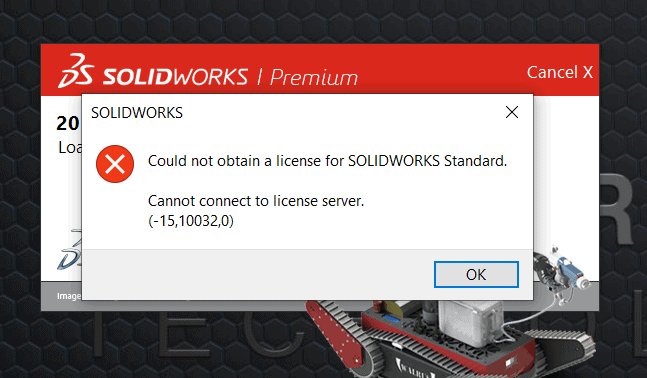
The most common reason the client computers cannot communicate with the server is because Windows Firewall is blocking the required communication ports.
Tech Tip: A quick way to troubleshoot if the Windows Firewall is causing issues is to temporarily disable the Windows Firewall on the server computer and try to launch SOLIDWORKS on a client computer. You may need to contact your IT to perform this test or change the server Firewall Settings. If disabling the Firewall does not fix your issue, make sure the client computer can ‘ping’ the server to ensure adequate network communication first.
Before adding port exceptions on the server computer, we need to make sure the SOLIDWORKS Network License Manager is configured for use with Windows Firewall. On the server computer, run the SOLIDWORKS SolidNetwork License Manager program.
In the SNL Manager, select the option to ‘Modify’ the installation and then click ‘Next’.
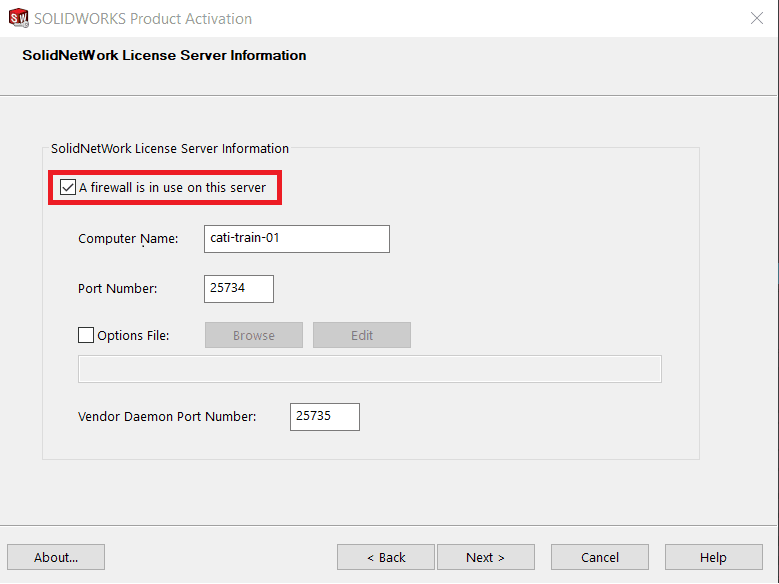
Make sure the option ‘A firewall is in use on this server’ is active and that the default ports 25734 and 25735 are designated to be opened in the firewall.
Tech Tip: If the settings have been changed, stop and then restart the server to apply the new settings.
Once the SOLIDWORKS Network License Manager is configured to use the Firewall, we need to add the appropriate exceptions to allow communication in the Windows Firewall settings.
From the Windows Server machine, go to ‘Start’ > ‘Control Panel’ > ‘Security and System’ > ‘Windows Firewall’.
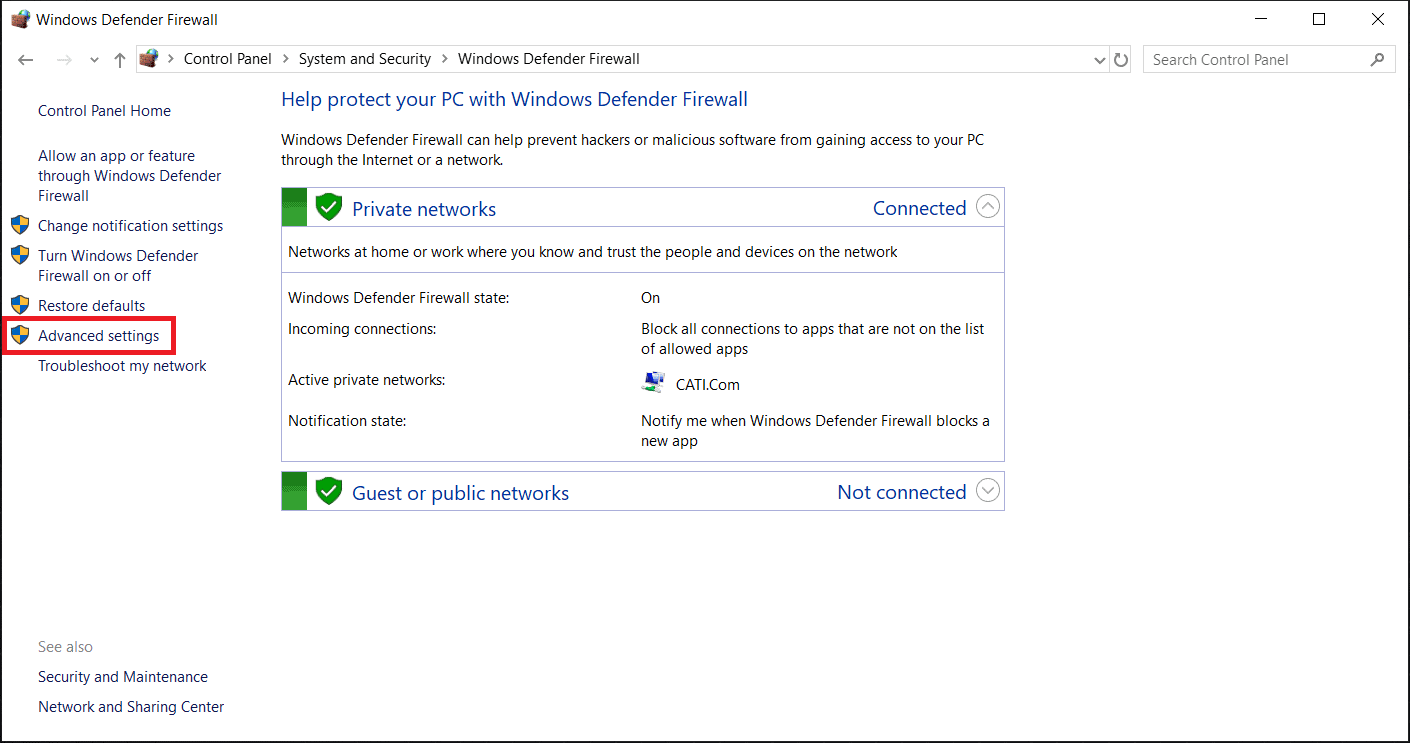
In the left pane, click the ‘Advanced settings’ link.
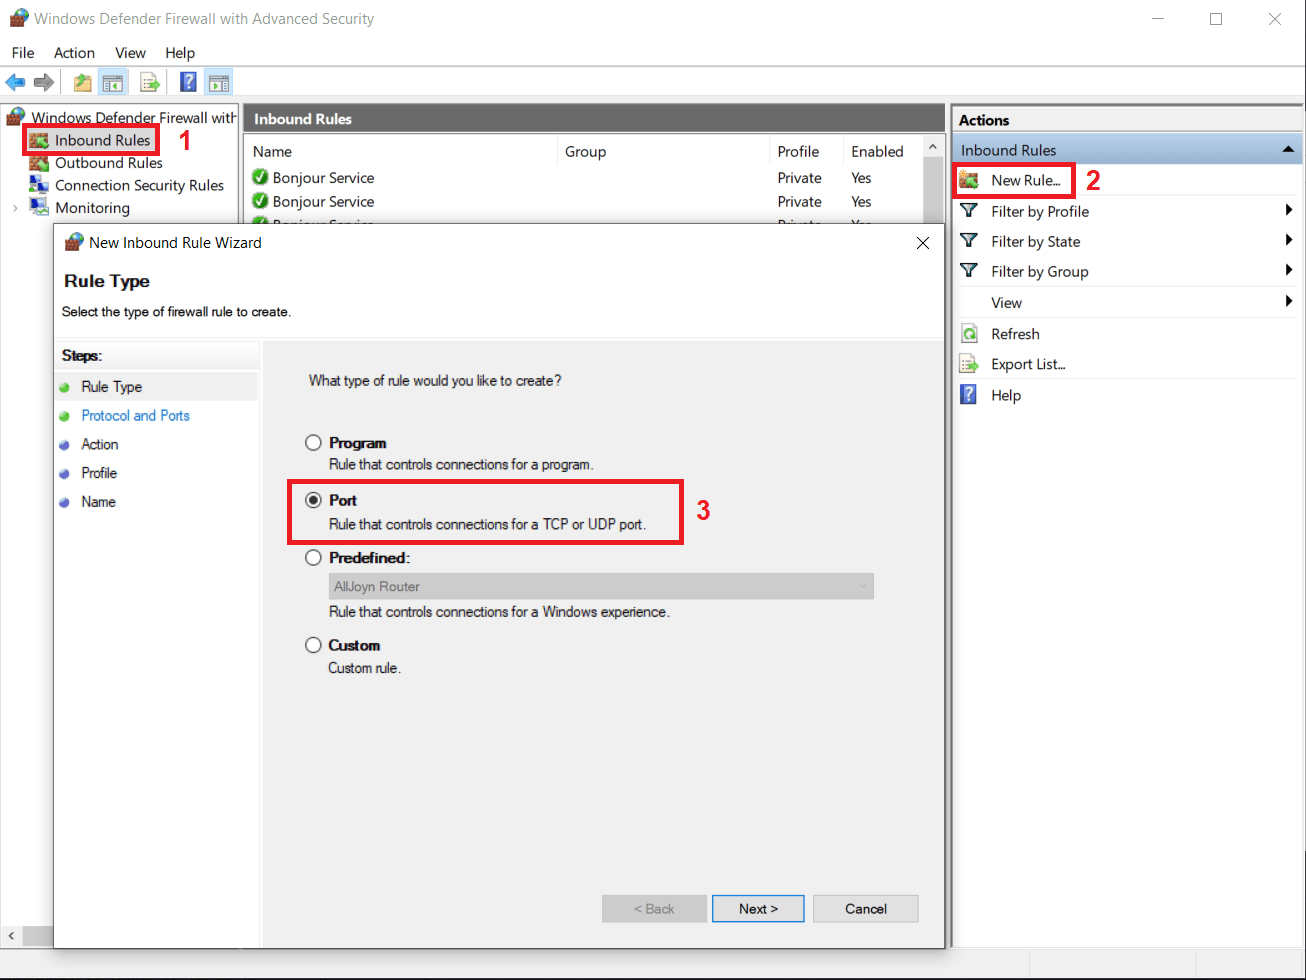
Select the ‘Inbound Rules’ and then choose ‘New Rule’.
Select ‘Port’ and then click ‘Next’.
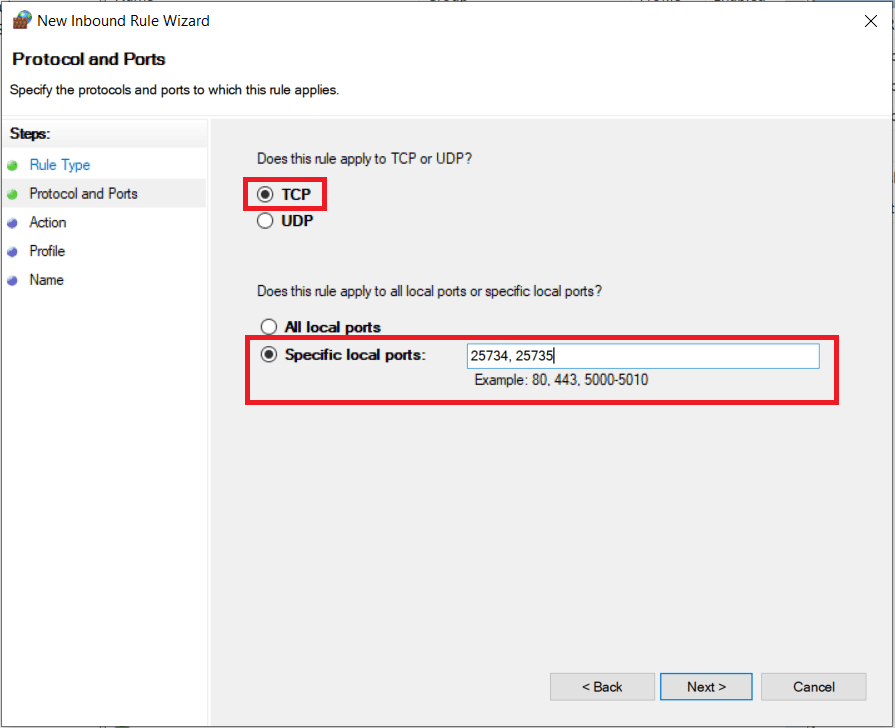
Make sure ‘TCP’ is selected and for ‘Specific local ports’ type ‘25734, 25735’ and click ‘Next’.
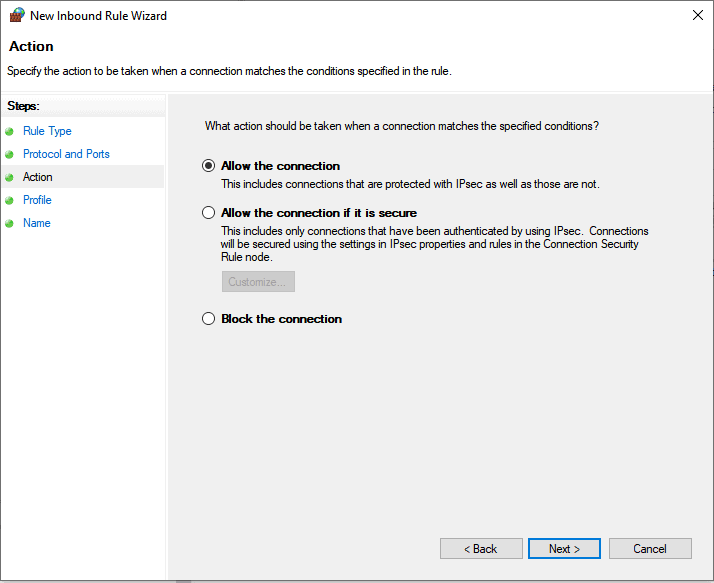
Select ‘Allow the connection’ (which should be the default selection) and then click ‘Next’.
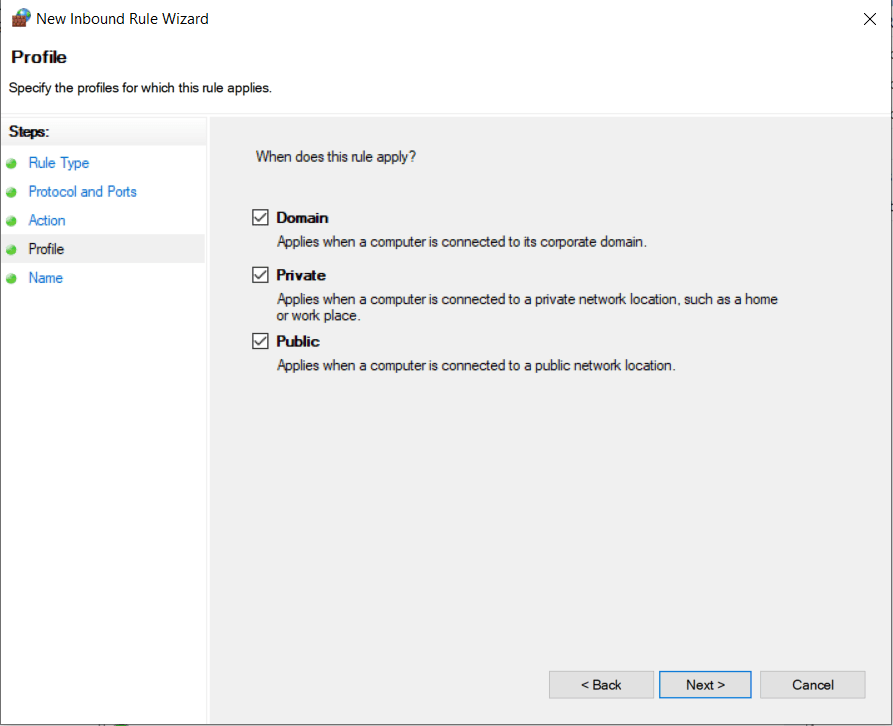
Select the desired Profile to apply the exception (select all the profiles if unsure which one you are using).
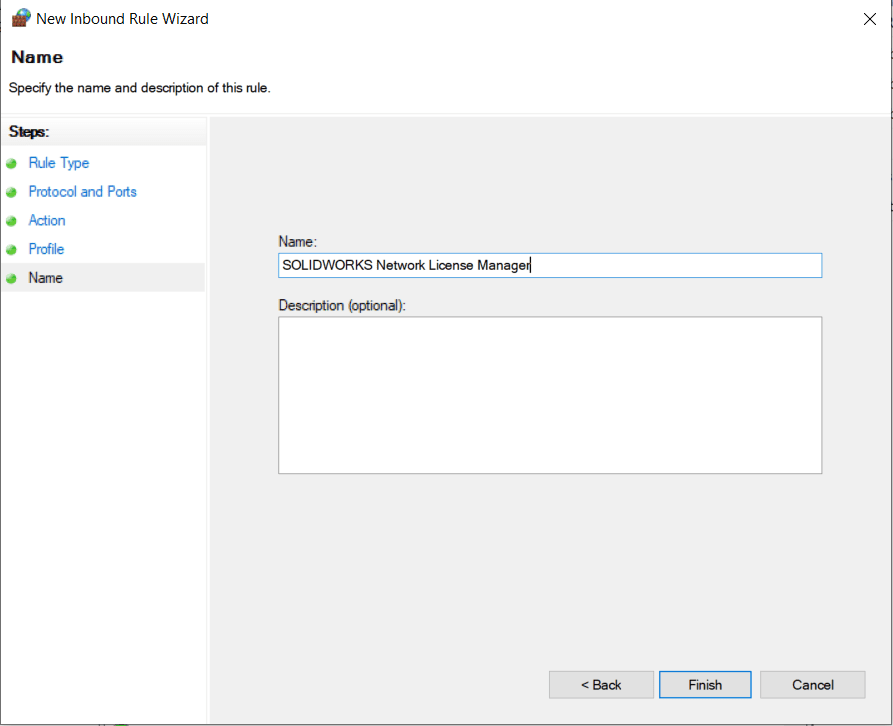
Type a name for the rule and then click ‘Finish’.
Tech Tip: Name the rule something you can identify quickly such as ‘SOLIDWORKS Network License Manager’.
After adding the Inbound exception rules on the server for ports 25734 and 25735, try to launch SOLIDWORKS on a client computer to see if it can pull a license from the server.
Tech Tip: If the client computer still cannot pull a license from the server, add an outbound ‘allow’ Firewall exception rule on the client computer for TCP ports 25734 and 25735 then try launching SOLIDWORKS again.
This should resolve any Windows Firewall related issues when using the SOLIDWORKS Network License Manager, however, if you are still encountering problems, contact us on support and we’d be happy to help get it working properly.
Jordan Puentes
Application Engineer
Computer Aided Technology, LLC.