SOLIDWORKS: Creating Route Specification Templates
Last year in November, I blogged about How to Create Piping Route. In the process of beginning the route, I selected a default template. Let me show you how easy it is to create a Route Specification Template.
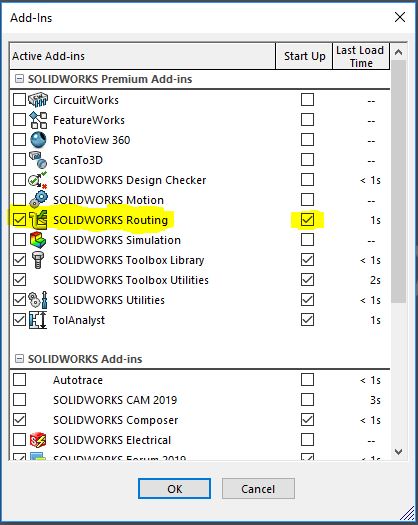
First thing is making sure our SOLIDWORKS Routing Add-in is checked.
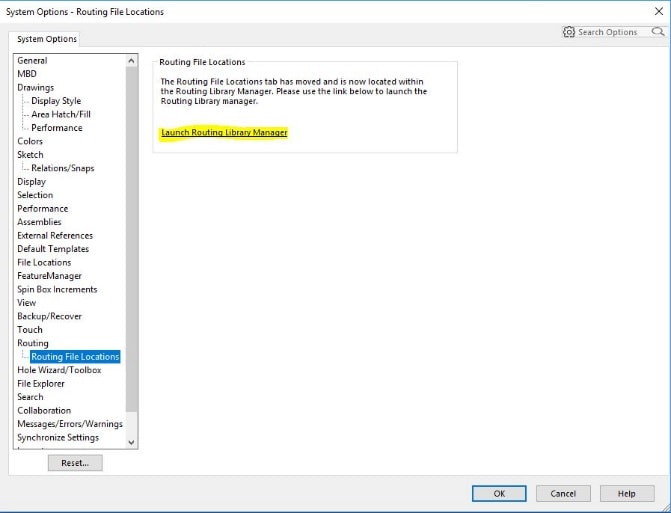
Let’s get started and launch Routing Library Manager. You can Click Options, on the System Options tab, click Routing File Location and click Launch Routing Library Manager. Or, Tools, Routing, Routing Tools and click Routing Library Manager.
Creating the templates requires selection of pipe and elbow parts that match the requirements. The pipes and elbows are selected from the Piping and Tubing Database of the Routing Library Manager.
Components can be added to the Piping and Tubing Database from the design library using the Import Data option.
Route Specification Templates can be created to predefine a pipe schedule, range of sizes or selection of elbows. It is selected and applied to the Route Properties dialog.
Let’s create a new template that will include only Schedule 40 components.
Click Route Properties tab of the Routing Library Manager.
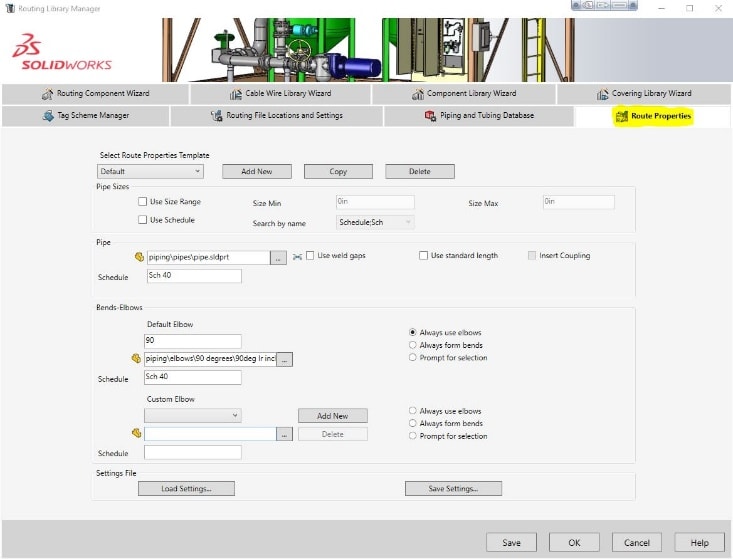
Click Add New and type SCH40 ONLY as the template name. Click Use Schedule, the pipes and elbows are selected from the Piping and Tubing Database of the Routing Library Manager.

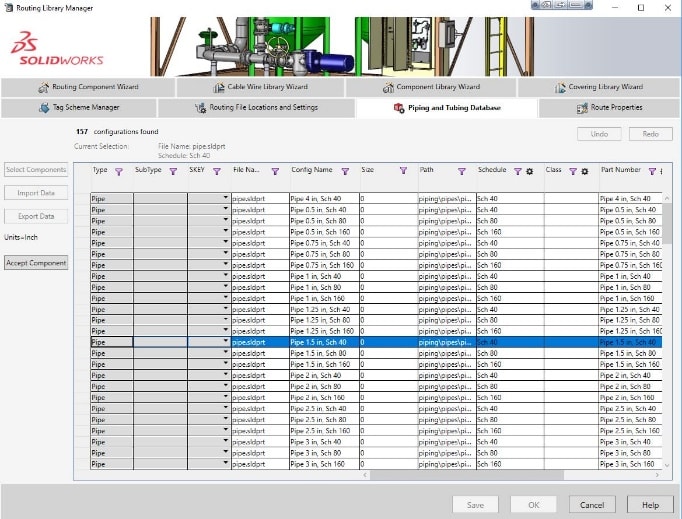
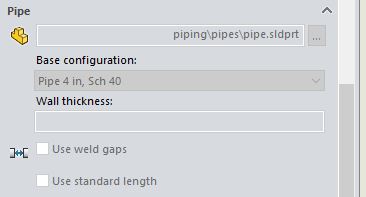
Click Browse  . You are now using part files from the Piping and Tubing Database. Select any pipe with the File Name pipe and a Config Name for a schedule 40 pipe, such as Pipe 1.5 in, Sch 40.
 Click
Click 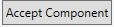 .
.

The filters can assist with selections for schedule and file name.

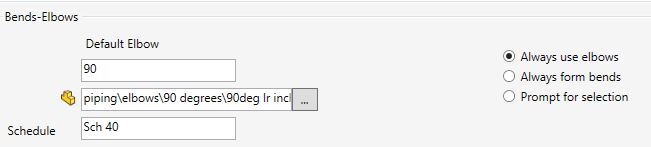
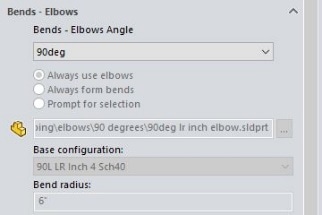
Let’s assign the elbows. This determines the angle of the most used elbows. Click browse and select
any elbow part file named schedule 40 90deg lr inch.
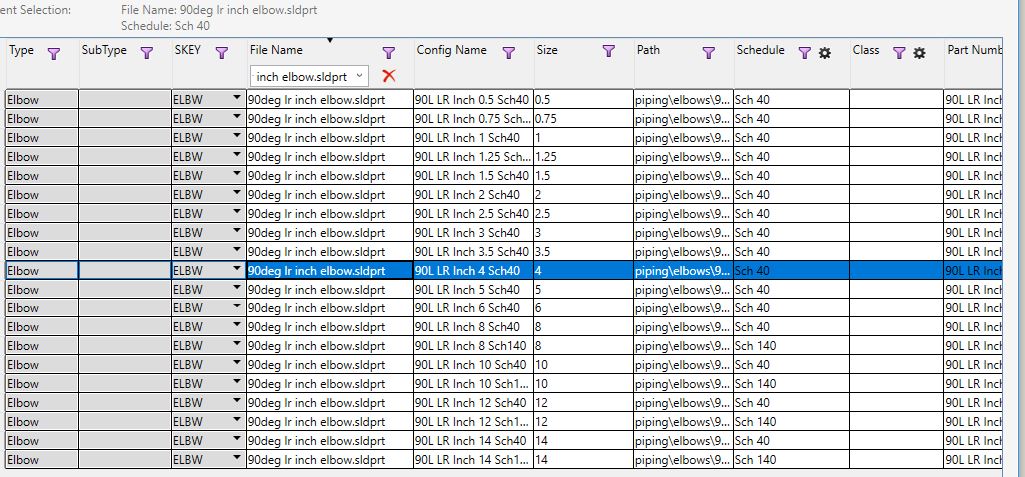
Click Accept Component and Always use elbow.
The custom elbow selection is used to determine the angle of the next most used elbow type. Browse for any of the 45deg lr inch elbow.

Additional custom elbows can be added to cover even more elbow types, if available. You would need to click Add New and browse for the file.
Click  and ok to save template successfully. Close Routing Library Manager.
Let’s use that new template. Drag and drop a slip-on flange and select a config to start a new Route.
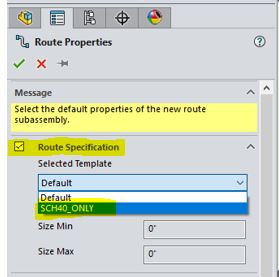
In the Route Properties dialog, click Route Specification, use the pull-down to select SCH40 ONLY as the Selected Template.
 Hit the green check mark.
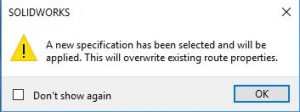
Click OK to this message confirming new specification has been applied.
Select routing assembly template and you’re off.
Based on the Route Specification settings, 4-inch pipe and elbow configs are automatically selected.
Custom route templates can specify different drafting standards, dimensions, units and other product allowing you more time to focus on your designing.
Roger Ruffin
Sr. Application Engineer
Computer Aided Technology, LLC