SOLIDWORKS Deform Tool: Creating an Over-mold
Today I’d like to show you how to use the SOLIDWORKS Deform Tool to create and over-mold on an existing tool handle.
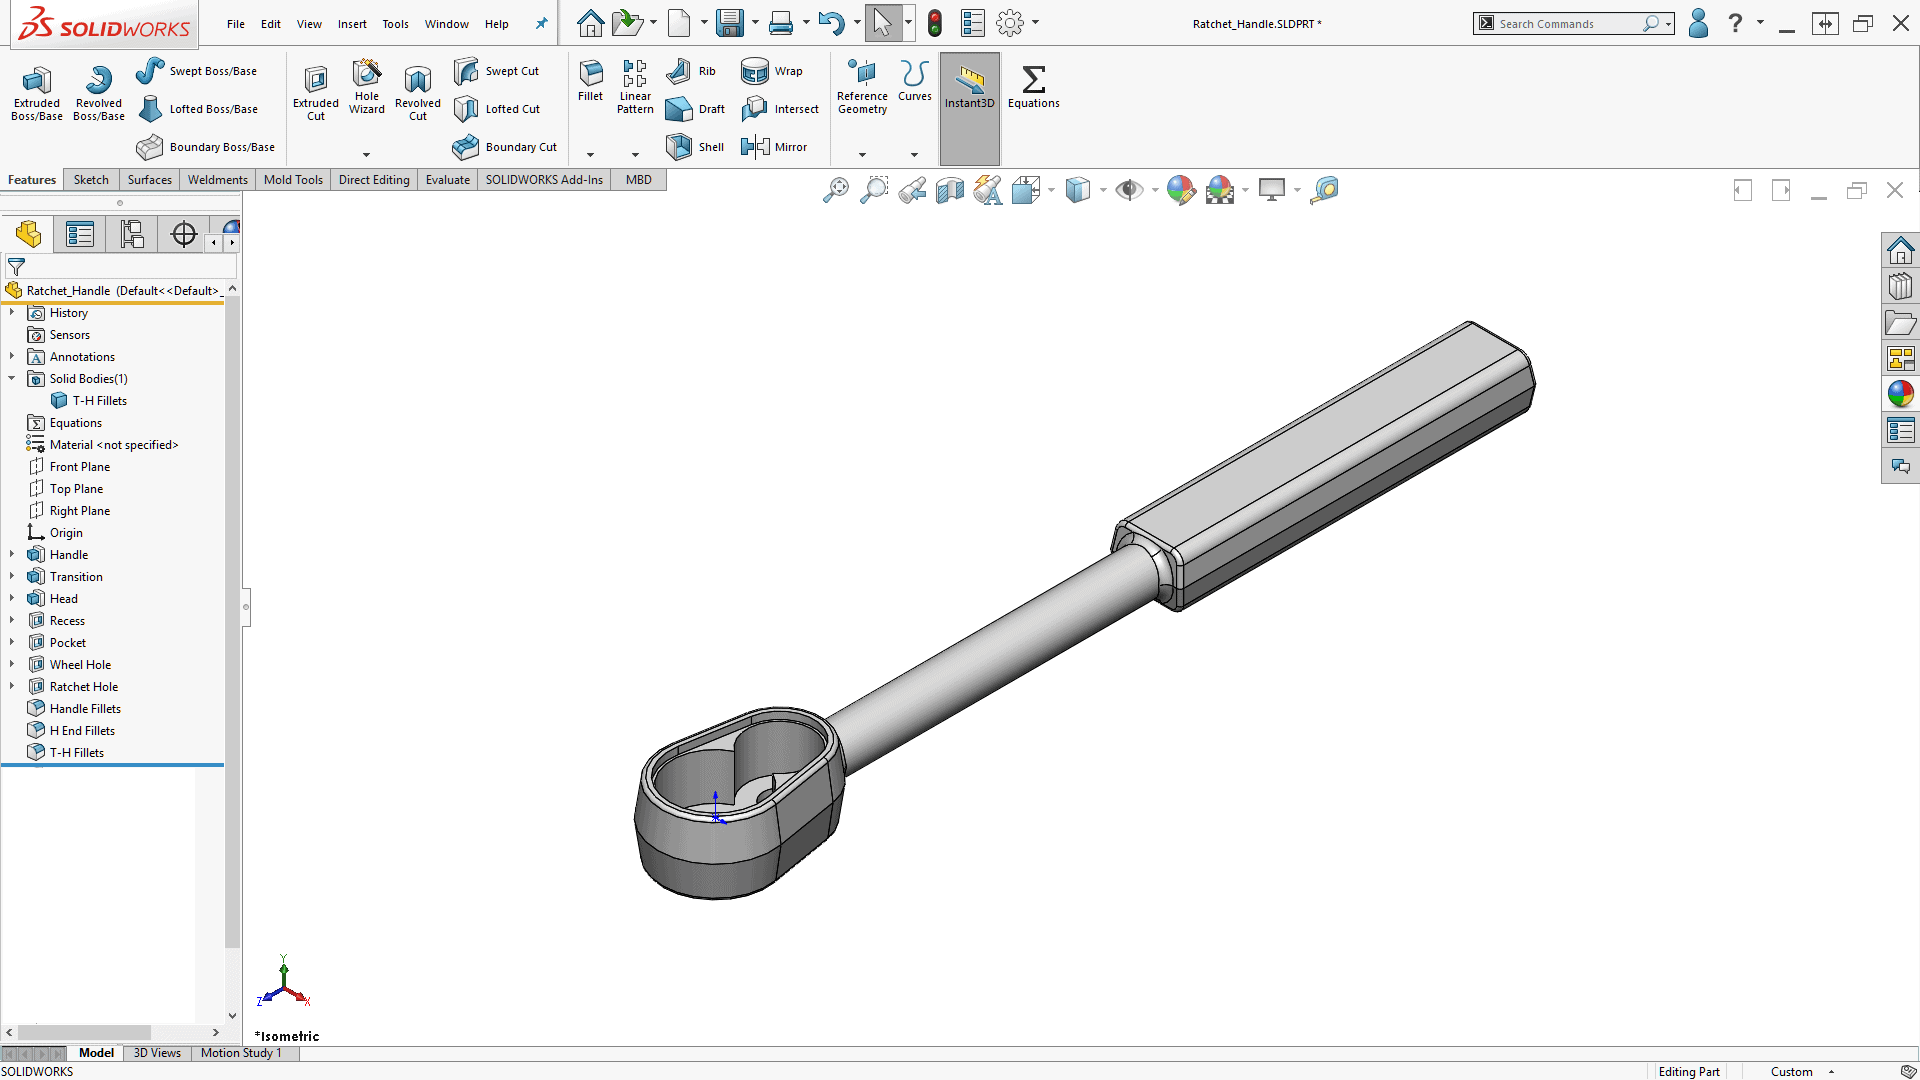
We’ll start with the Ratchet Handle that was created in Lesson 4 of SOLIDWORKS Essentials: Parts and Assemblies.
Let’s start by creating a basic ellipsoid shape that encompasses the handle.

Only half of the solid is created, so that symmetry can be applied later.
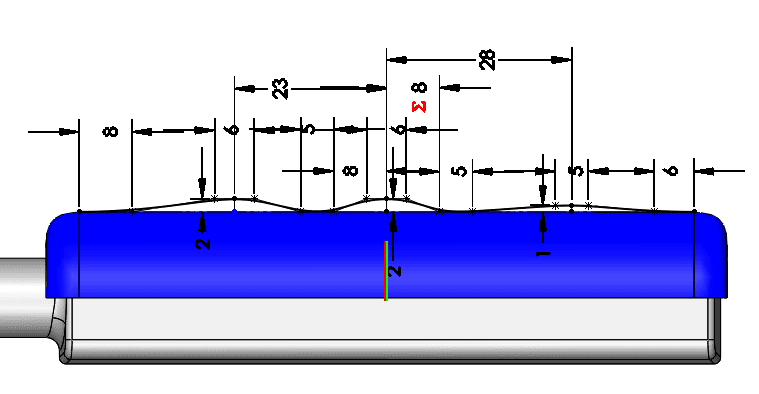
Now a sketch is created to be used to modify the solid. In this case, a Style Spline was used to allow tighter control of the curve.
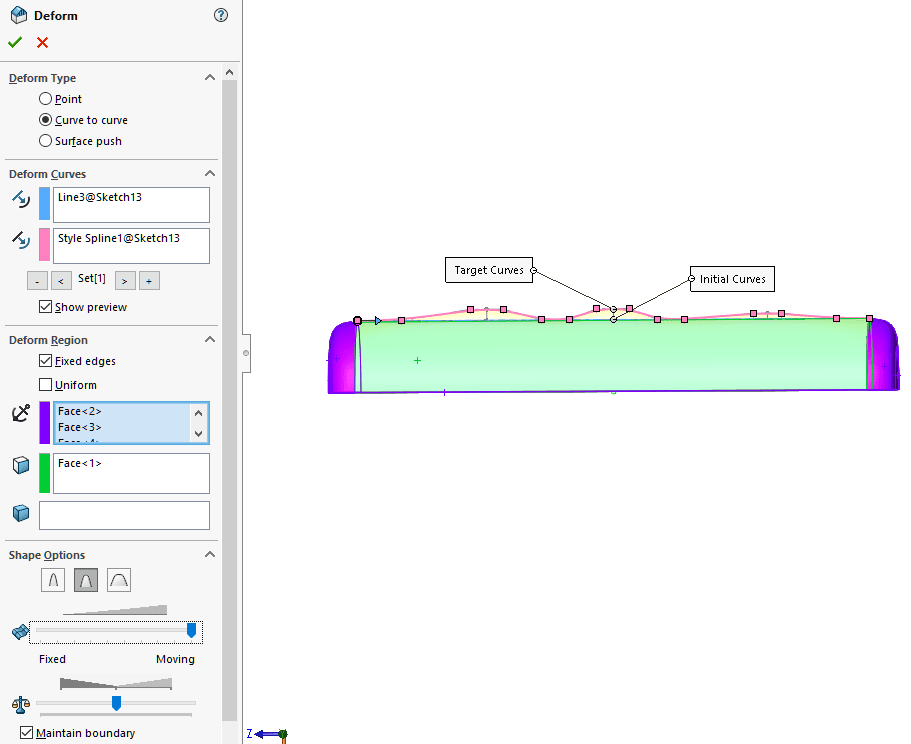
Using the Deform Tool with these settings will preview like this.
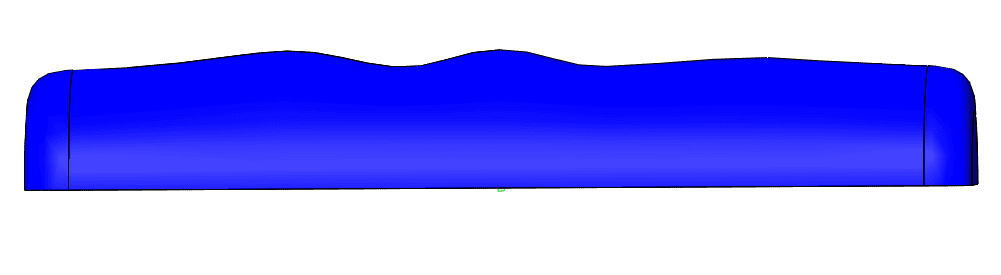
And the result will be this.
Using mirror bodies creates the symmetry for the solid.
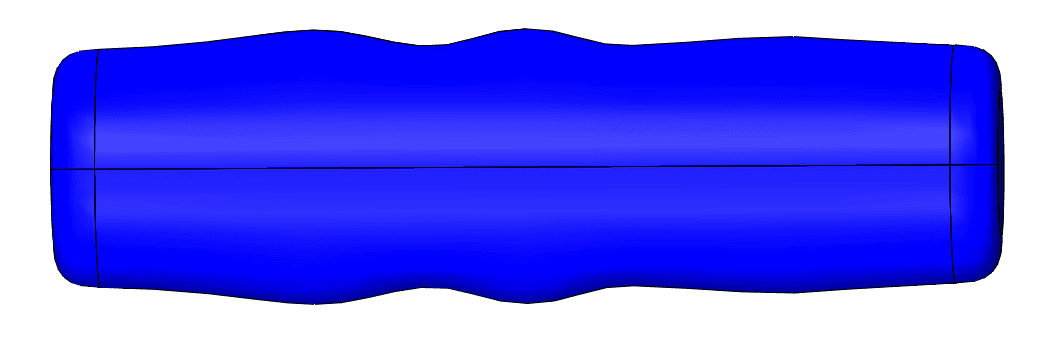
But the deformation is only along the X-axis.
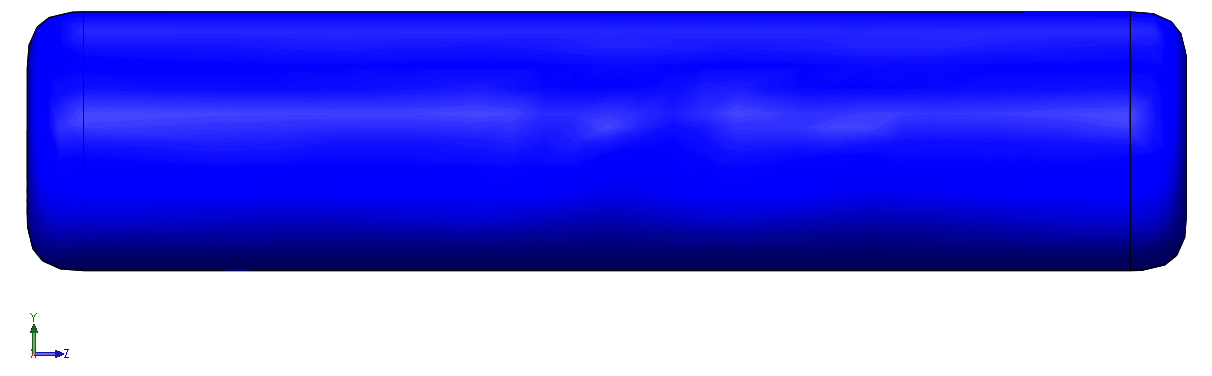
Before applying the Deformation to the Y-axis, the solid will be cut along the Z-axis to allow for symmetry

To apply the deformation to the Y-axis, the sketch curve will be derived and the deform applied to the body.
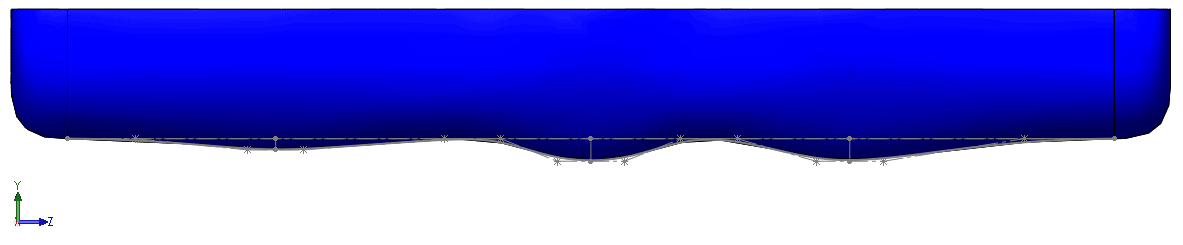
Mirroring the body produces overall symmetry.
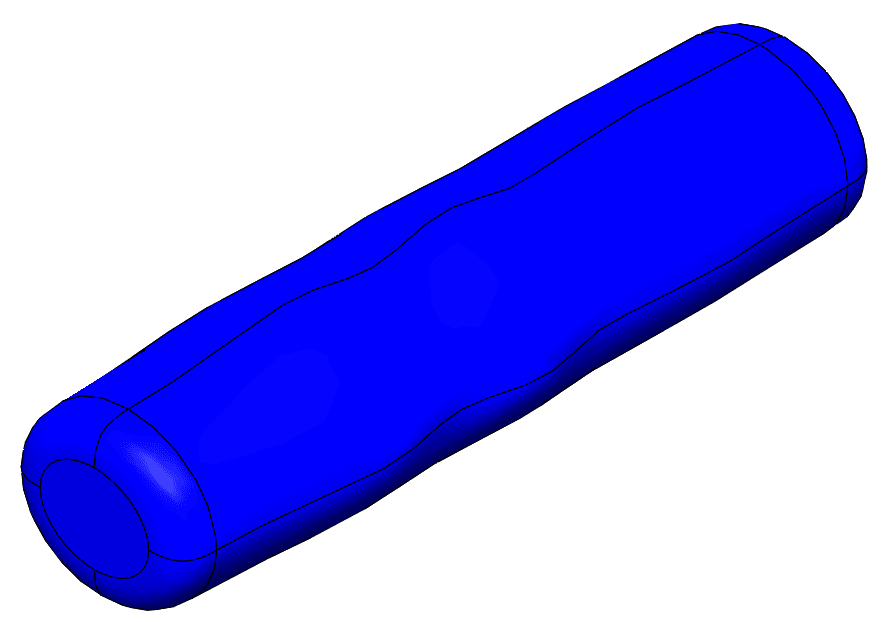
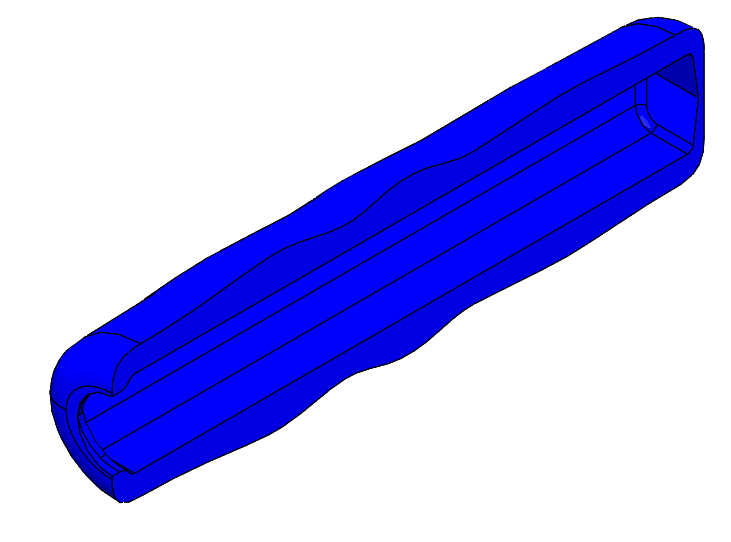
In the next step, a copy of the Ratchet Handle body is created and subtracted from the Over-mold (Shown in section view for clarity).
I hope this demonstration of advanced modeling, using the Deform Tool will improve your skills as a SOLIDWORKS Designer!
Dennis Barnes, CSWE
Applications Engineer, SOLIDWORKS Technical Support
Computer Aided Technology, LLC