Using SOLIDWORKS SpeedPak to Improve Assembly Performance
 Do you work with large assemblies in SOLIDWORKS but find that your system is running slowly, especially when using the rotate or zoom functions? If you’ve been searching for a technique or tool that can help eliminate or reduce this slowdown, you’ve come to the right place. SOLIDWORKS has a number of methods to address this issue but in this blog, we’re going to talk about a specific tool called SOLIDWORKS SpeedPak.
What is a SOLIDWORKS SpeedPak? A SpeedPak is a special type of configuration for assemblies and sub-assemblies. These SpeedPak configurations are simplified graphical representations of those assemblies. SpeedPaks only include the graphics of the assembly and any selected faces, bodies, sketches, or reference geometry that you may need for mating or dimensioning purposes.
A SOLIDWORKS SpeedPak reduces the amount of solid model geometry that is being accessed by the CPU. By reducing the amount of solid model geometry being accessed inside of the assembly file, we are reducing the number of calculations that are necessary for SOLIDWORKS to resolve the assembly. This, in turn, makes the assembly run smoother and faster.
Another point to note is that SOLIDWORKS SpeedPaks can be generated from the Configuration Manager or from the Top Level Assembly. The example I’m working with today is from the Configuration Manager. Now that we understand what a SpeedPak is, let’s take a look at how to make a SpeedPak configuration and how it functions inside of an assembly.
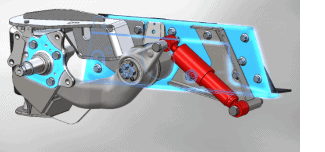
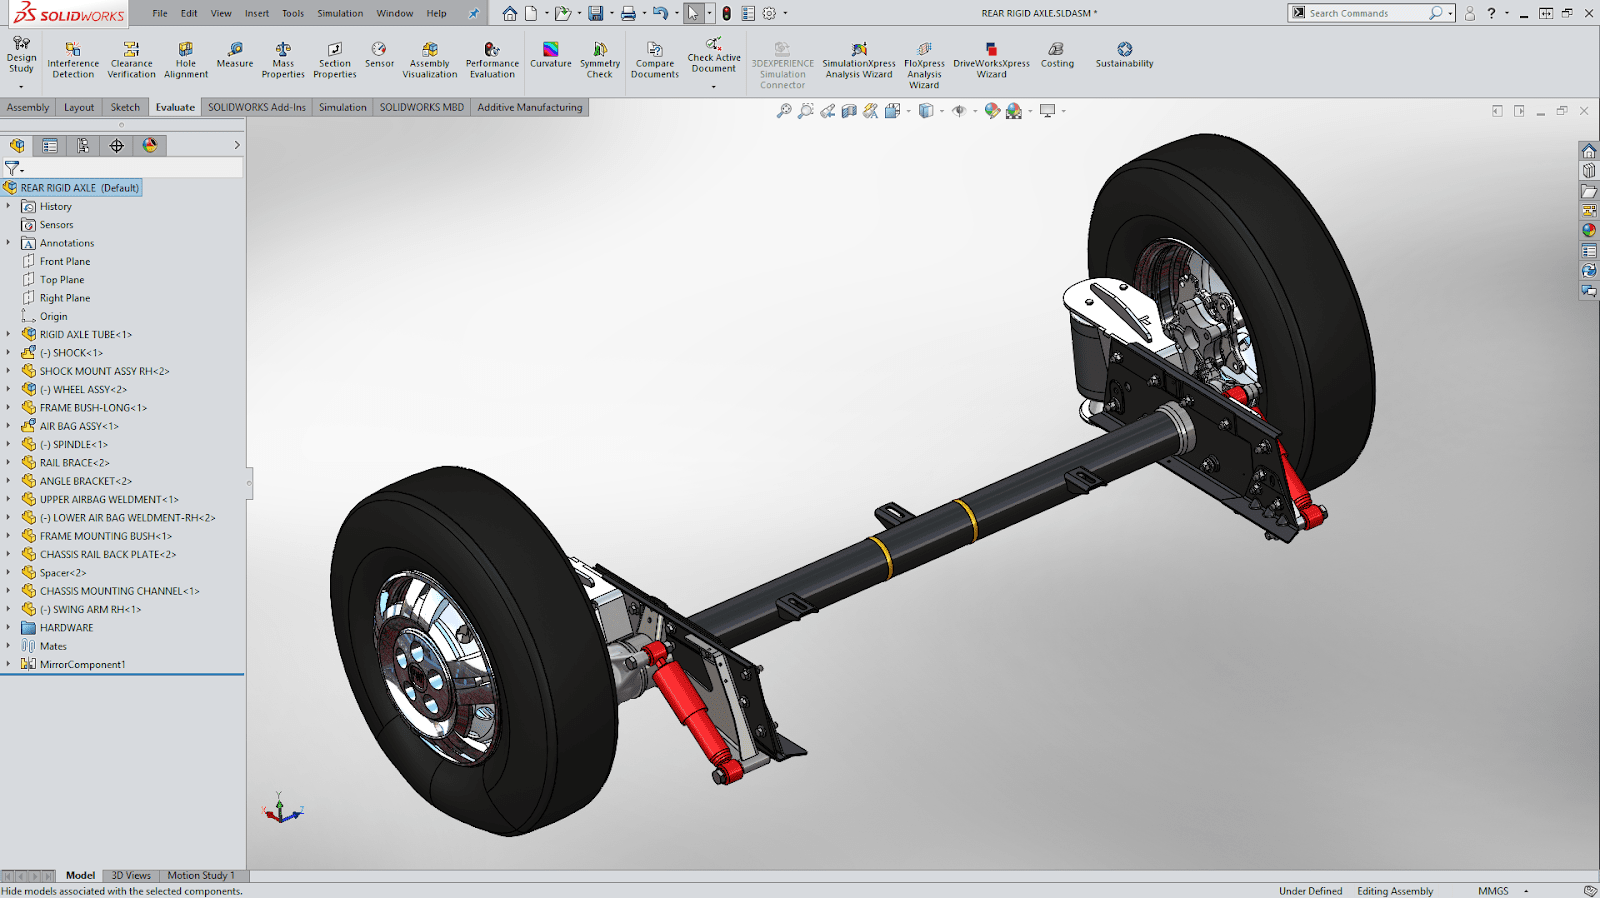
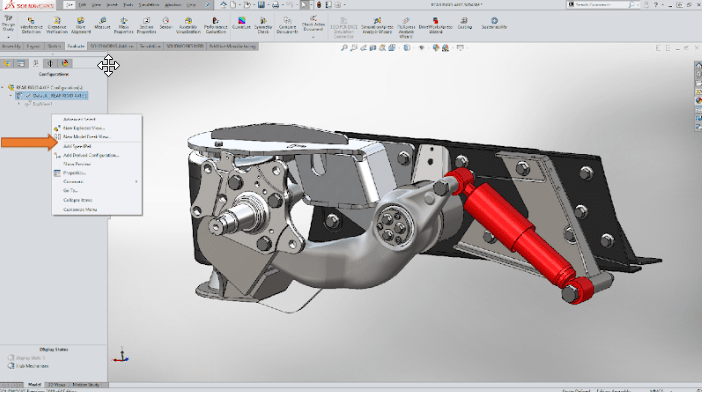
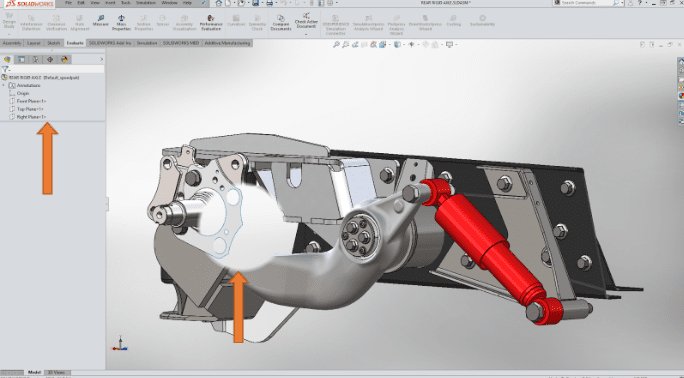
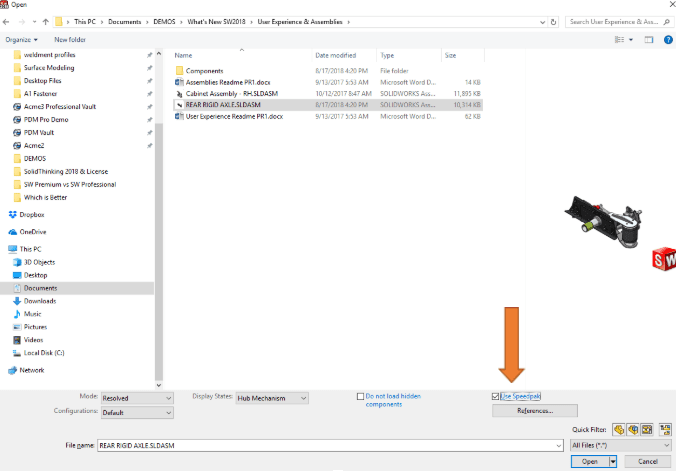
I am working with the assembly pictured below.
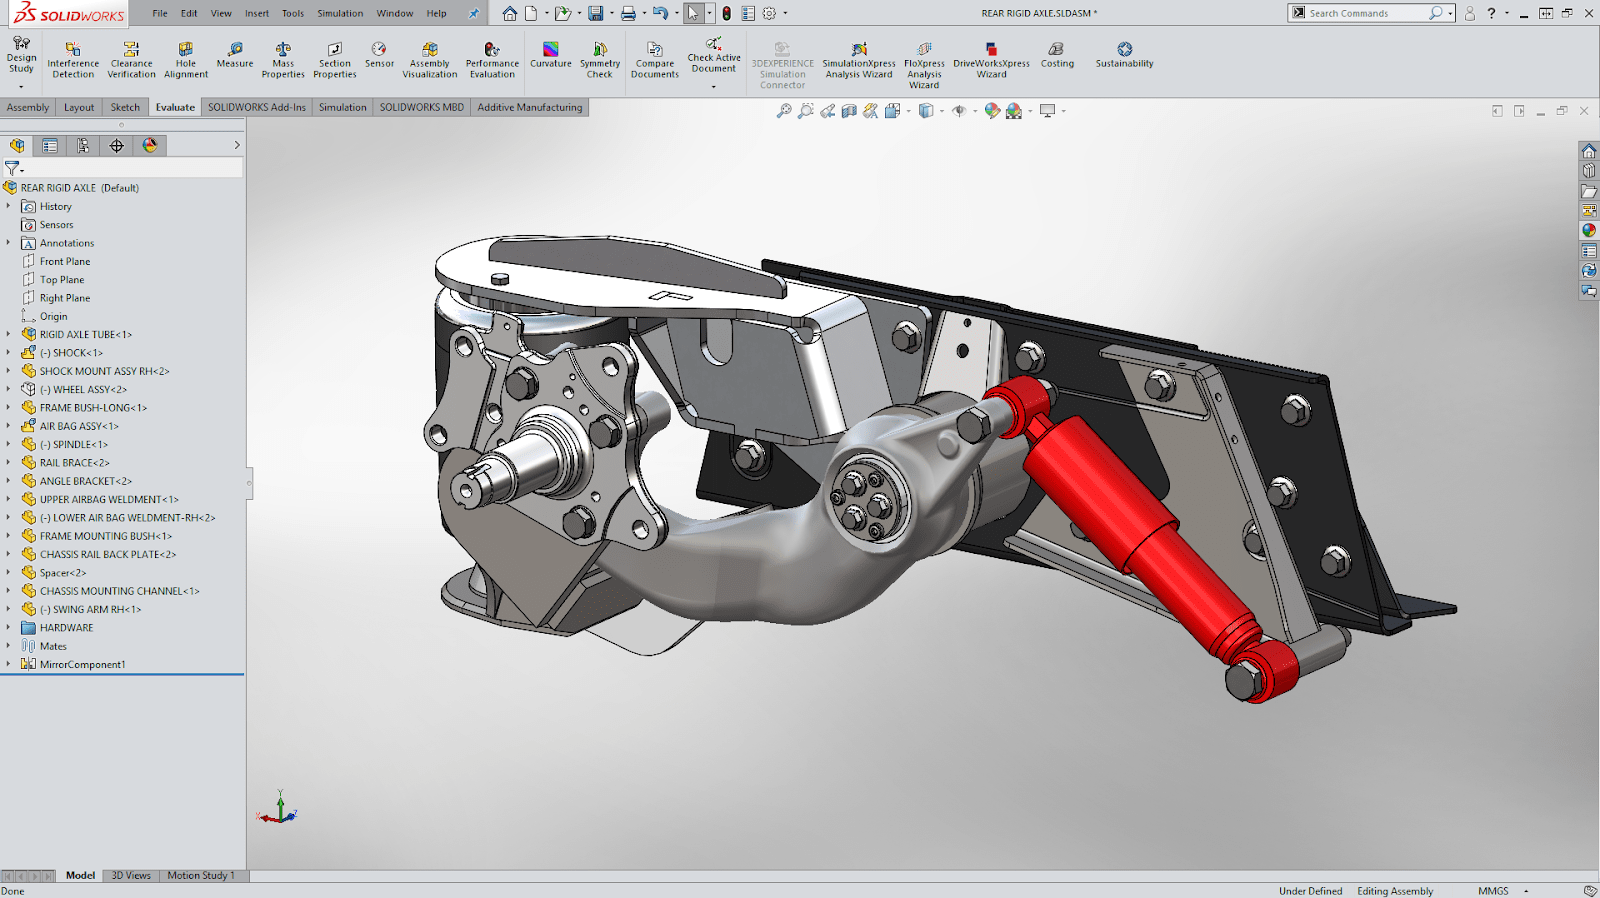
This assembly is part of a rigid axle system.
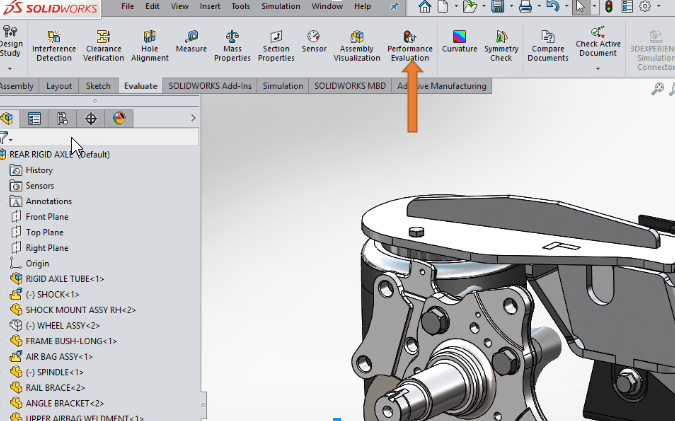
Before I make my SpeedPak I want to use the Performance Evaluation tool to analyze my assembly, which can be found on the Evaluate Tab.
You can see my Performance Evaluation results below.
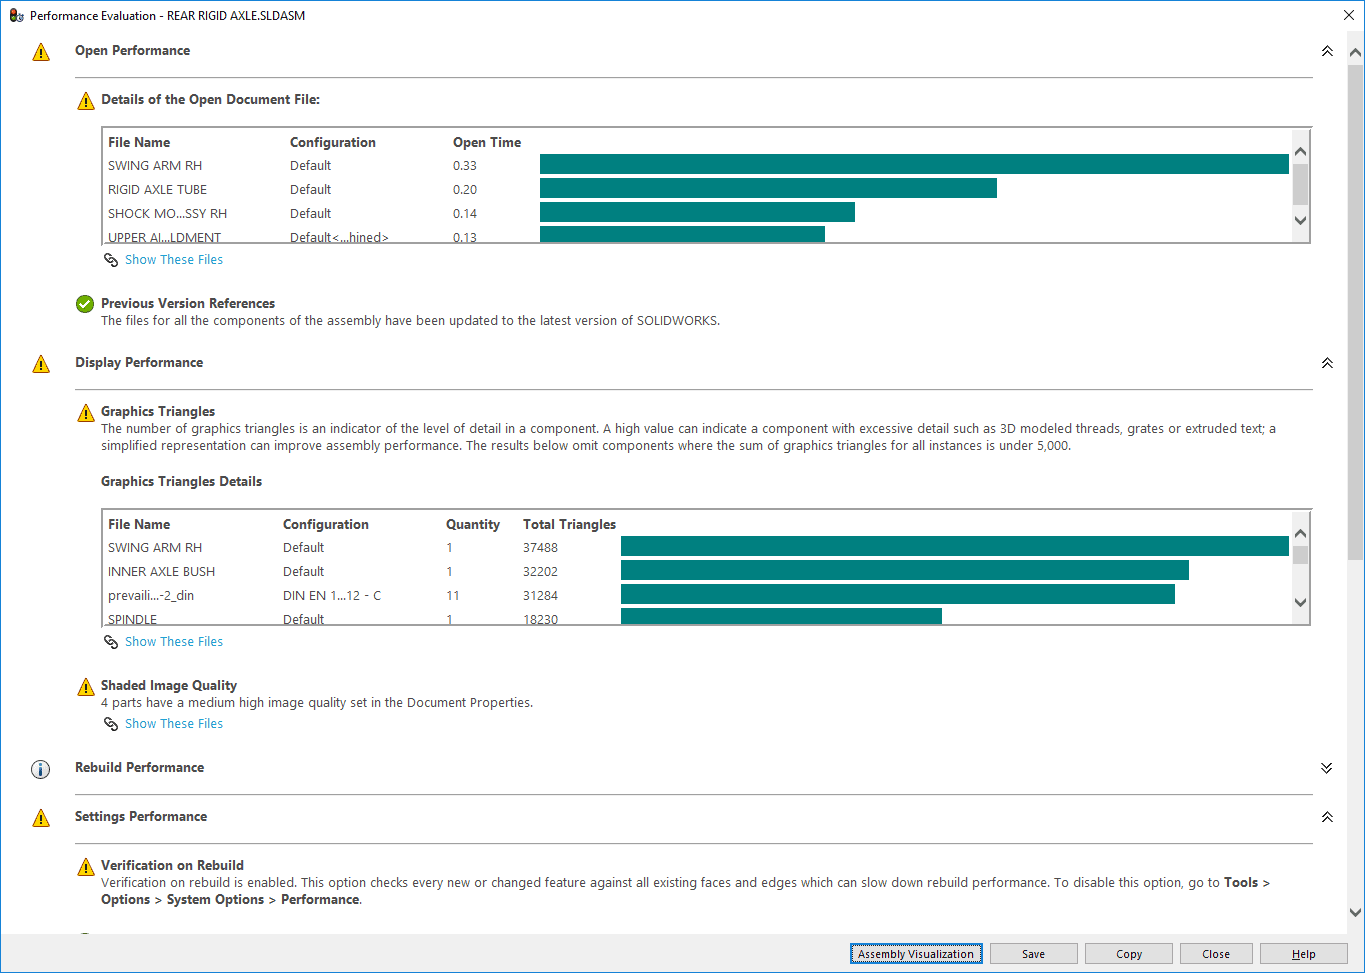
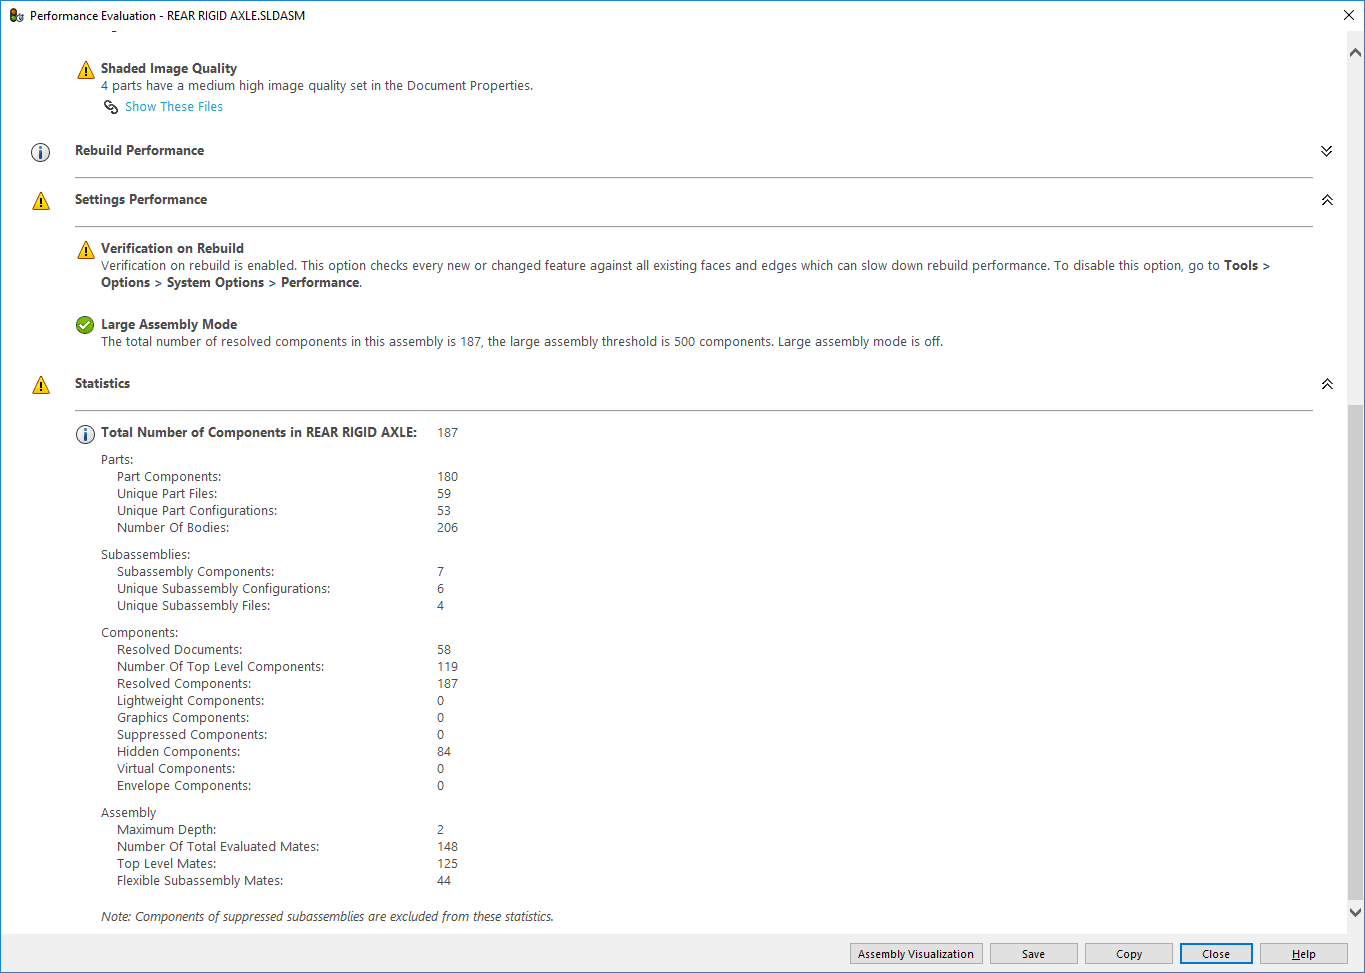
These results can help me identify files that are using the most resources. I can also see a breakdown of the total number of components in the assembly. I point this out because the total number of components will dramatically reduce once we make our SpeedPak.
I will now go to the Configuration Manager tab. SpeedPaks are a type of sub-configuration so it’s important to have the correct configuration active before making the SpeekPak. Once the configuration is active, you can either right-click on the configuration or in the empty space below. Then select the option from the pop-up menu that says, “Add SpeedPak”.
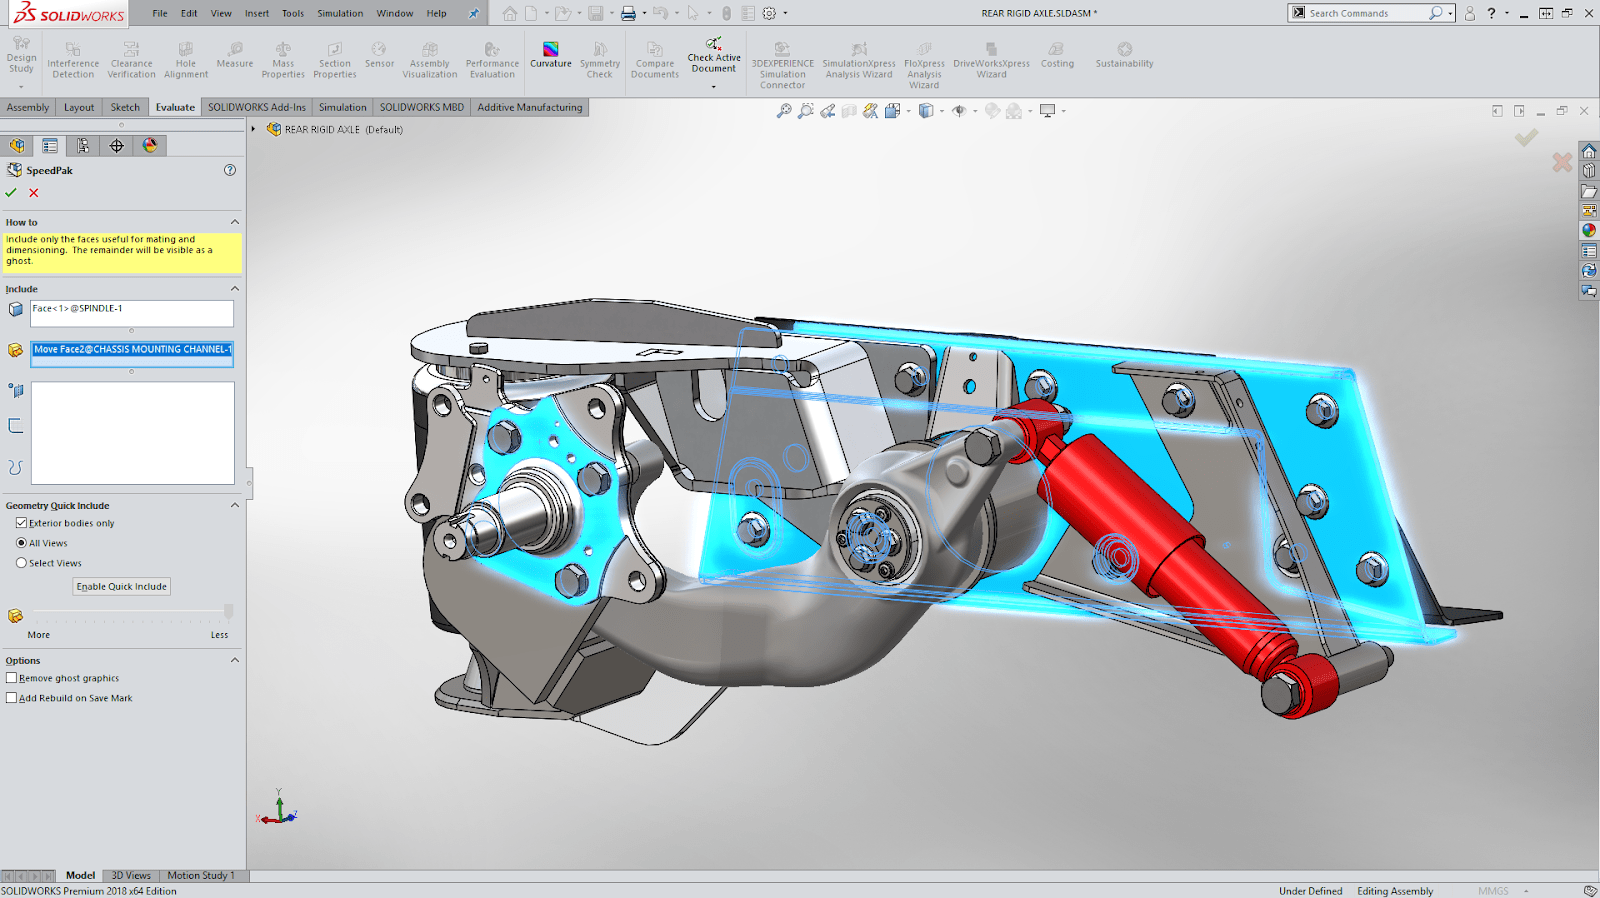
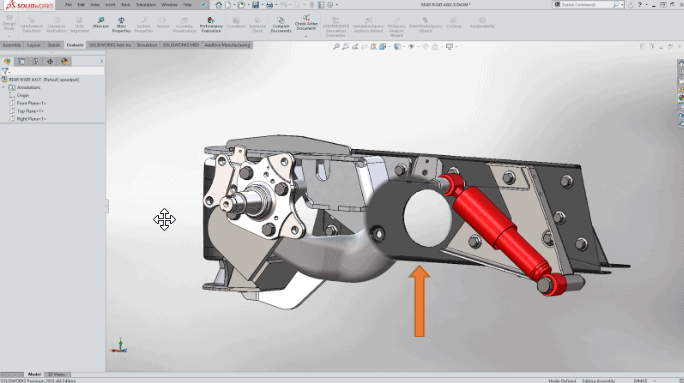
I can now select the faces, bodies, sketches, or reference geometry to include in the SpeedPak. I will select a face on the Spindle and the Chassis Mounting Channel body.
Once the SpeedPak configuration has been generated and is active, the assembly will still look the same unless the Display SpeedPak Graphics Circle View Option is turned on. This option can be found under View > Display > Display SpeedPak Graphics Circle or you can use your search command bar in the upper right corner of your screen.
Once the SpeedPak Graphics Circle is active, anywhere you place it in the graphics area will make the components on screen disappear except on the geometry that was selected when generating the SpeedPak. Also, notice that on the Feature Manager Design Tree that there are no features.
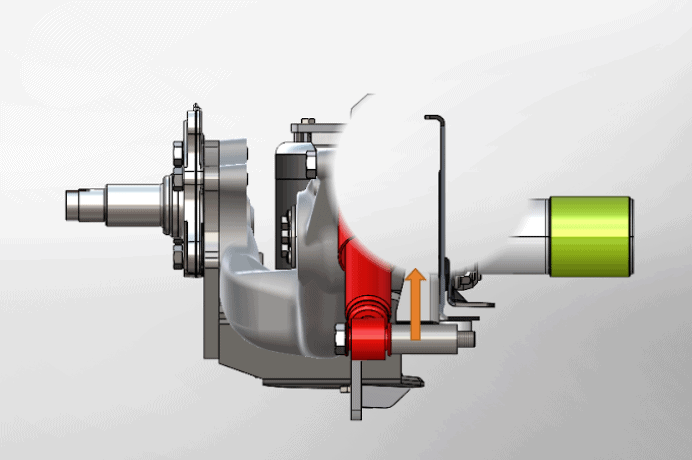
I can toggle the SpeedPak Graphics Circle off by hitting the keyboard shortcuts ALT+S. The purpose of the graphics circle or “ghost circle” is to make it easier to find selectable entities. Any information that was not included in the SpeedPak will not be selectable.
Let’s run the Performance Evaluation tool again and see what it outputs.
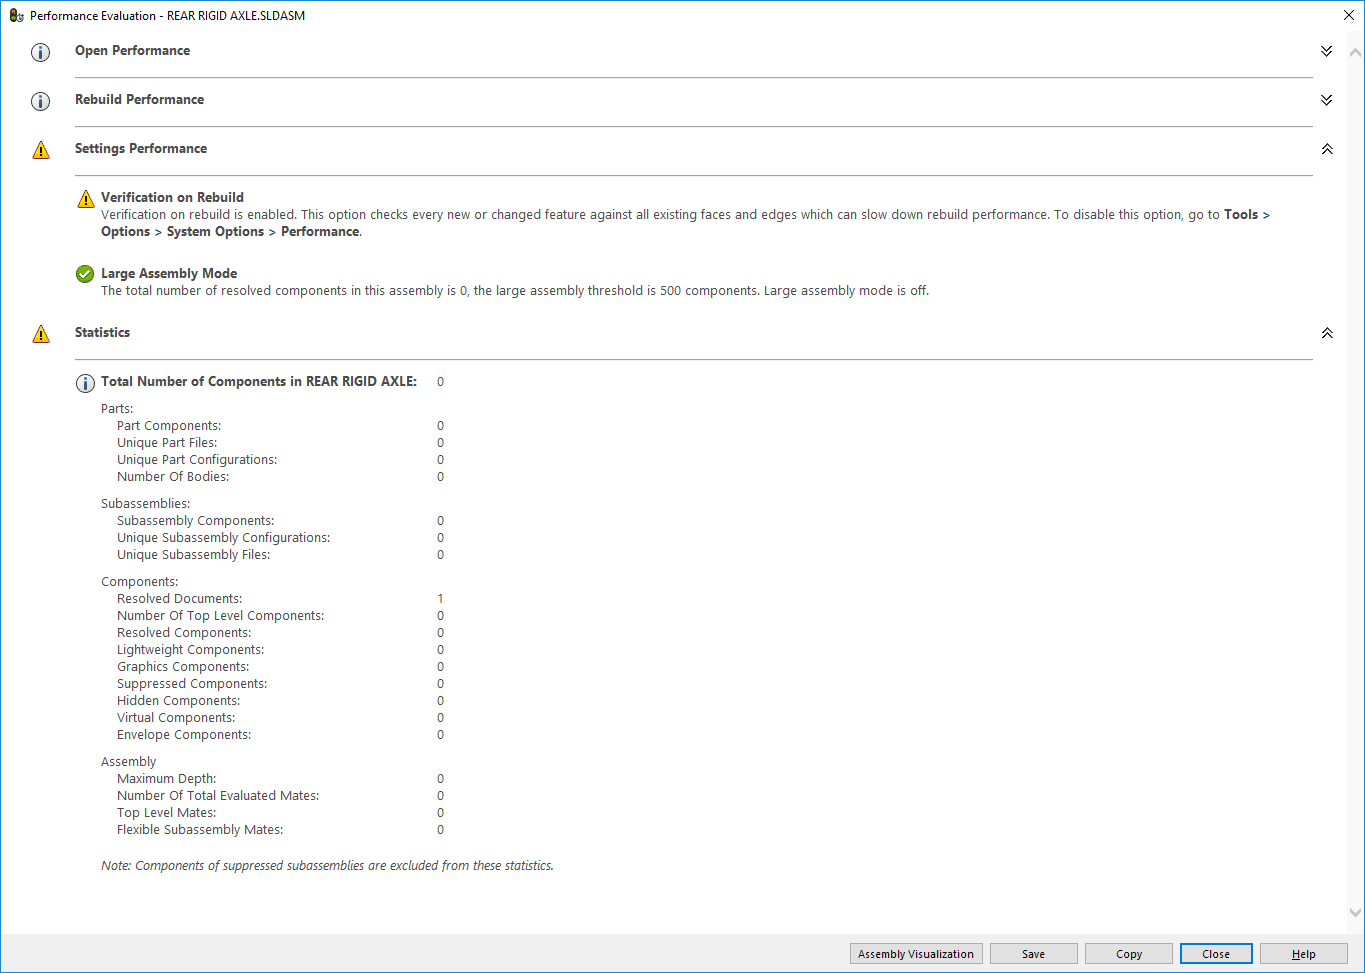
When the SpeedPak configuration is active, I have a total number of components of zero. As I stated at the beginning of this blog, SOLIDWORKS SpeedPak greatly reduces the processing load on your computer and GPU.
Here are some points to keep in mind when using SpeedPaks:
- – If there are changes that are made to the assembly, the SpeedPak will need to be updated in order for those changes to be reflected on screen
- – If at any time you find that your SpeedPak is causing a limitation, you can always switch the file back to a fully loaded configuration of the file. This should always alleviate any apprehension about experimenting with SOLIDWORKS SpeedPaks.
The last point I want to mention is that SpeedPaks can be activated directly from the Open Dialog box.
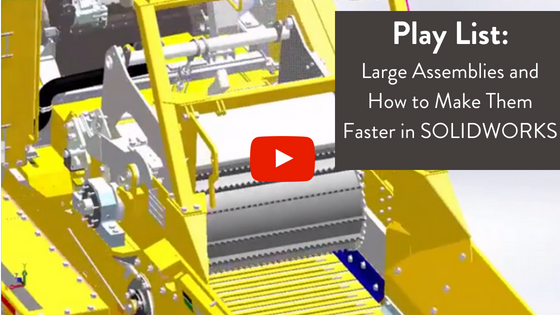
Now that you are armed with this knowledge I hope you will try out the SOLIDWORKS SpeedPak tool. For more tips and tricks on large assemblies, check out our YouTube playlist below.
Related Articles
Adding Serial Numbers to Your SolidNetWork License Manager
SOLIDWORKS Designs: Fully Functional Drink Dispenser
Always Have a Complete Packing List with SOLIDWORKS Pack and Go
About the Author
 James Reeher has a Bachelor of Science in Mechanical Engineering from Cleveland State University and began using Solidworks in 2007. After many years as a Product Development Engineer in the industrial fitting, biomedical device, and LED lighting industries he joined the Fisher Unitech team in 2016. James is very interested in new technology and how different technologies can be applied to one another. As an Application Engineer, he enjoys helping customers learn how to leverage Solidworks to meet their needs and introduce them to other technologies that can help their business.