Deadpool’s Minor Surface Flaws – Part 2
Continuation from Deadpool’s Minor Surface Flaws – Part 1
Aaaaaaaaand we’re back! I know the anticipation was killing you, but every great comic has cliff hangers and I did the best I could. I don’t know if I’m going to sleep tonight, because I’m going to see Deadpool tonight! Since the movie is on my mind we’ll continue our epic journey of creating his mask.
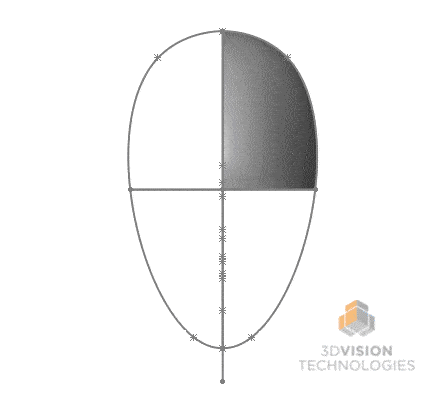
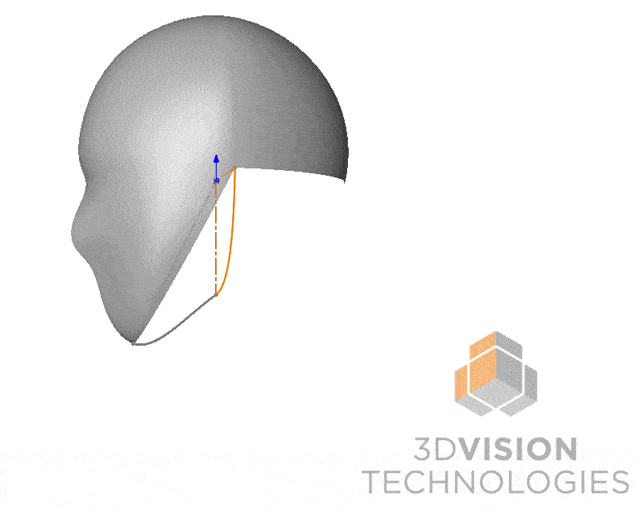
The last we left our terrible tongued hero protagonist’s mask, I created the top part of his head and need to show you how I created the Nose & Jaw.

To do this I need to be clever….almost too clever…. I can use some of the techniques I’ve already used in Day 1, but I need to redefine where the jaw line is for SOLIDWORKS to get a good surface there. I can add a sketch defining the jaw line and use that sketch to project his jaw line. I’ll use “Project Curve” to do that. Then create a 3D sketch where I can convert the curve into a sketch with Convert Entities.
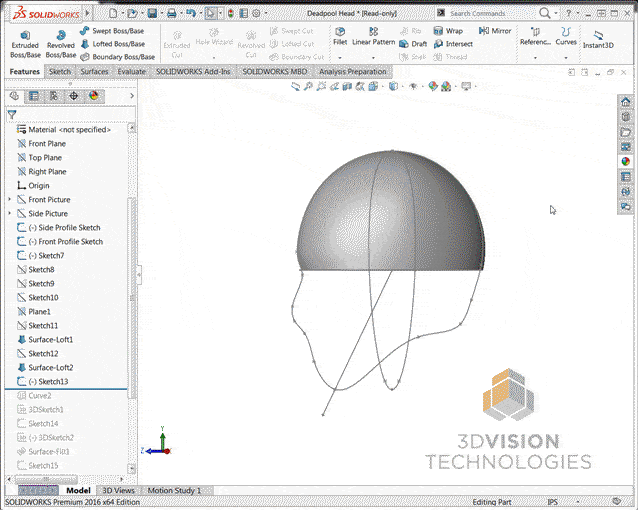
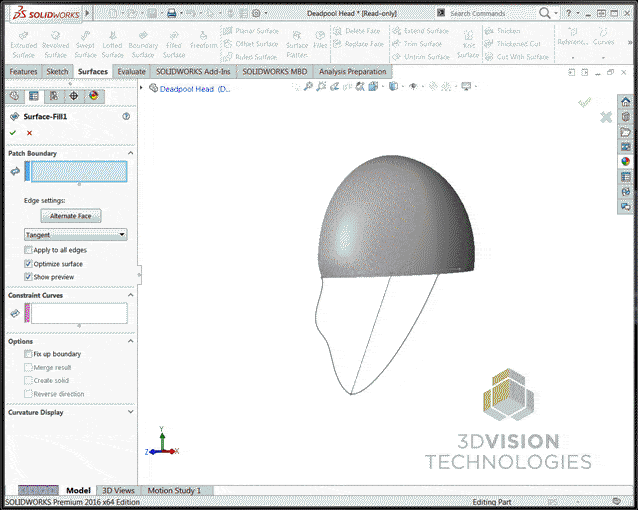
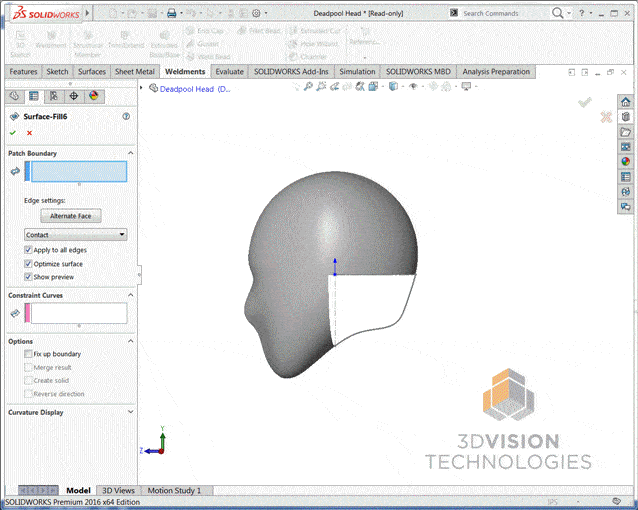
Alright we’re really close to getting the complex nose and jaw geometry into our model, so like in Day 1 I’ll convert some entities of the profile sketch and trim back to only what I need. Then I’ll use my new jaw line sketch, converted profile sketch, and my existing surface edge to create my new surface. I tried using a Lofted Surface first, but to save you the same disappointment, it didn’t give me quite what I was looking for, so this time I’ll use a “Filled Surface”.
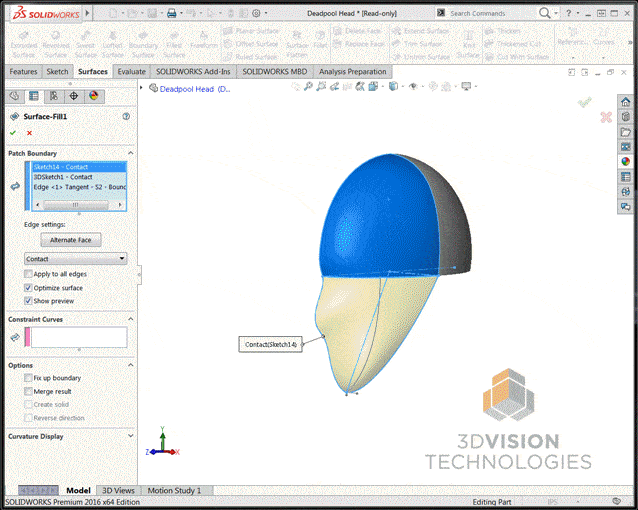
While that looks ok, I’m not really happy with the way the nose and jaw turned out. It looks like SOLIDWORKS needs some help constraining the surface down so it doesn’t balloon out at the jaw and I’d like some more definition at the nose. So I’ll add a 3D Sketch of a spline to help constrain it down and try again.
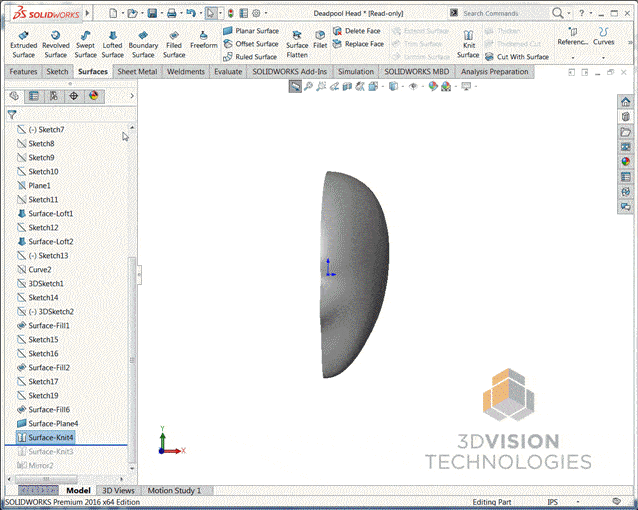
Now that jaw line looks more in line with what I want. Time to move to our next section. Here I’ll just add in another sketch on the Front Plane of a 2 point spline and size it closer to the back side of his head so I get a nice transition from his chin up to his neck area. I’ll use a Filled Surface again since that seemed to work well.

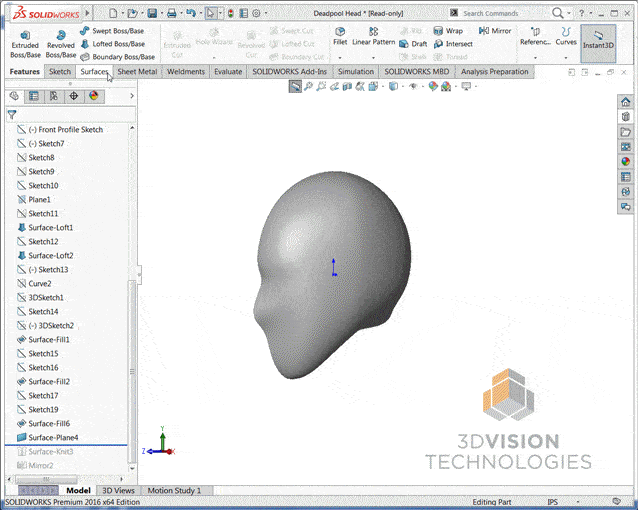
It’s all coming together and our hero’s mask is nearly complete. Just one more converted sketch and I can use the existing surface edges to create the bottom back half of the head with another Filled Surface.
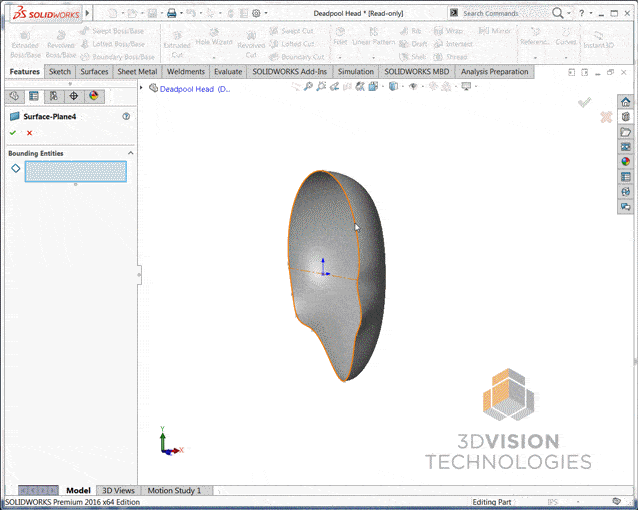
To complete the mask, I need one last surface on the back side (I’ll use a Planar Surface).
Now the moment of truth. The epic final show down. The less than climactic pivotal scene we’ve all been waiting for. To get my full solid, I’ll need to knit my surfaces together, create a solid and Mirror the two halves of my solid.
OH NO!!! There’s a crease right in the center of the face. This isn’t DC comics, it’s not Two-Face! Will our hero’s mask ever look right? Tune in next time youngsters to see the epic conclusion to our hero’s journey!
Deadpool’s Minor Surface Flaws – Part 1
Deadpool’s Minor Surface Flaws – Part 2
Deadpool’s Minor Surface Flaws – Part 3 – THE FINAL SHOWDOWN (ISH?)
If you have any questions or comments please share down below.
Brandon Nelms
Application Engineer
Computer Aided Technology, Inc