Yea They're Attractive, They're MAGNETIC Mates! - Part 2
So if you read my blog last week Yea They’re Attractive, Magnetic Mates – Part 1, you saw how awesome and attractive Magnetic mates are for layout planning. I showed how you can reduce the amount of work it takes to create layouts, get a great graphical representation for your whole layout with Speedpaks, and quickly change your layout by pulling apart the magnetic mates.
Now that you know more about how to use them this blog post will walk through how to set them up and a few nuances I’ve found with Magnetic Mates.
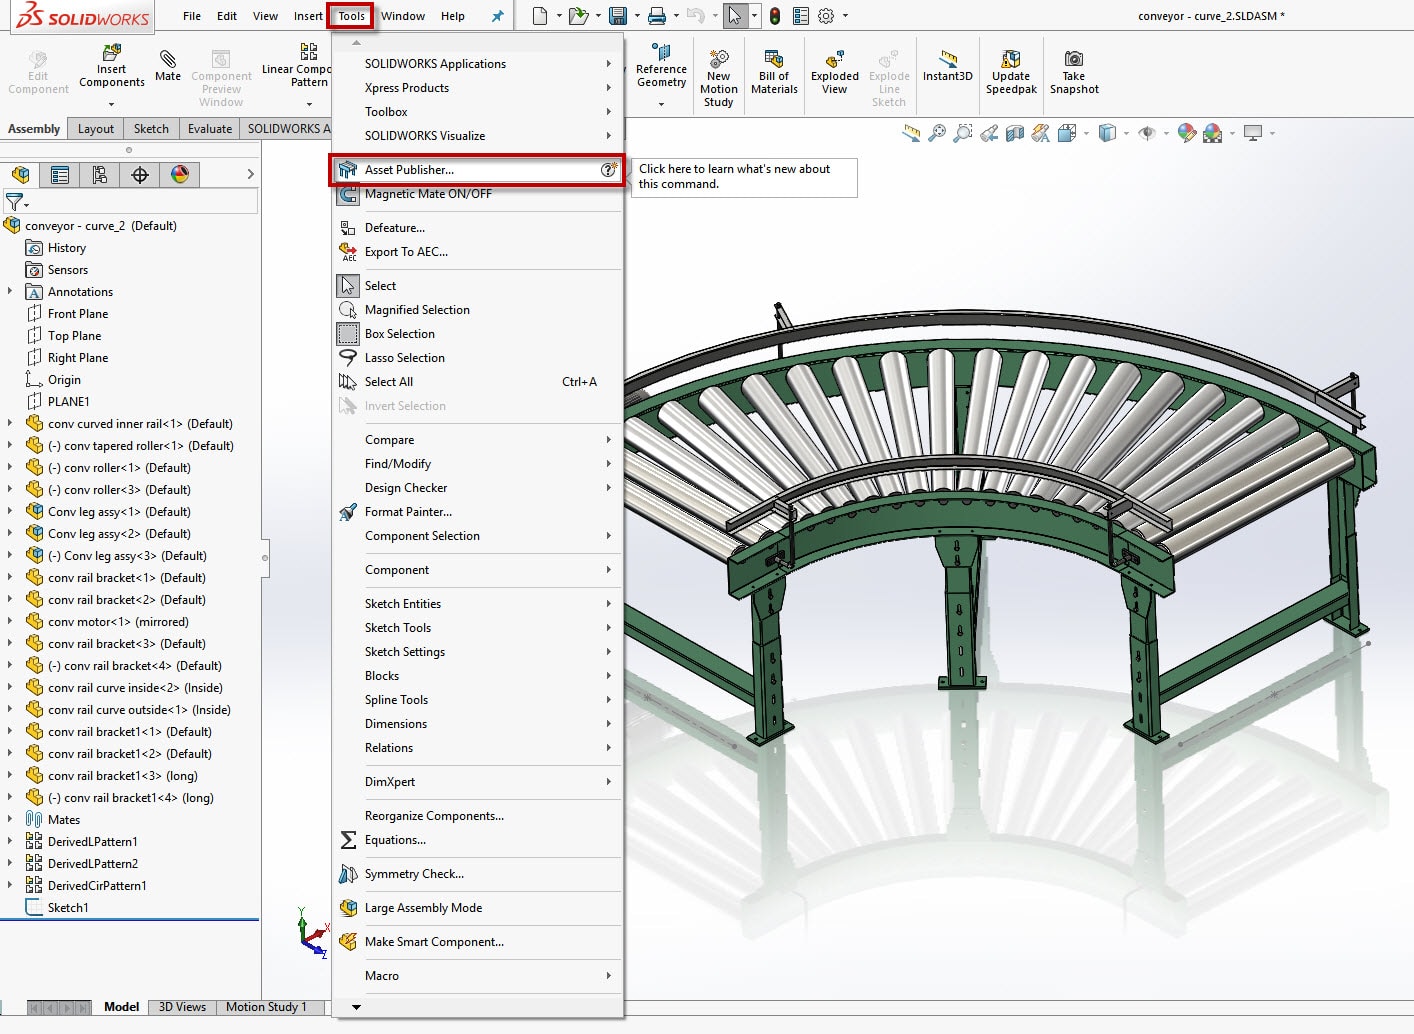
To make a Magnetic Mate you’ll need to use the Asset Publisher, which can be found through Tools > Asset Publisher
From there the Asset Publisher Property Manager will launch to set up your Ground Plane and connecting points. For this conveyor component we’ll use the Top Plane as the Ground Plane and the Connecting points will be two sketch points.
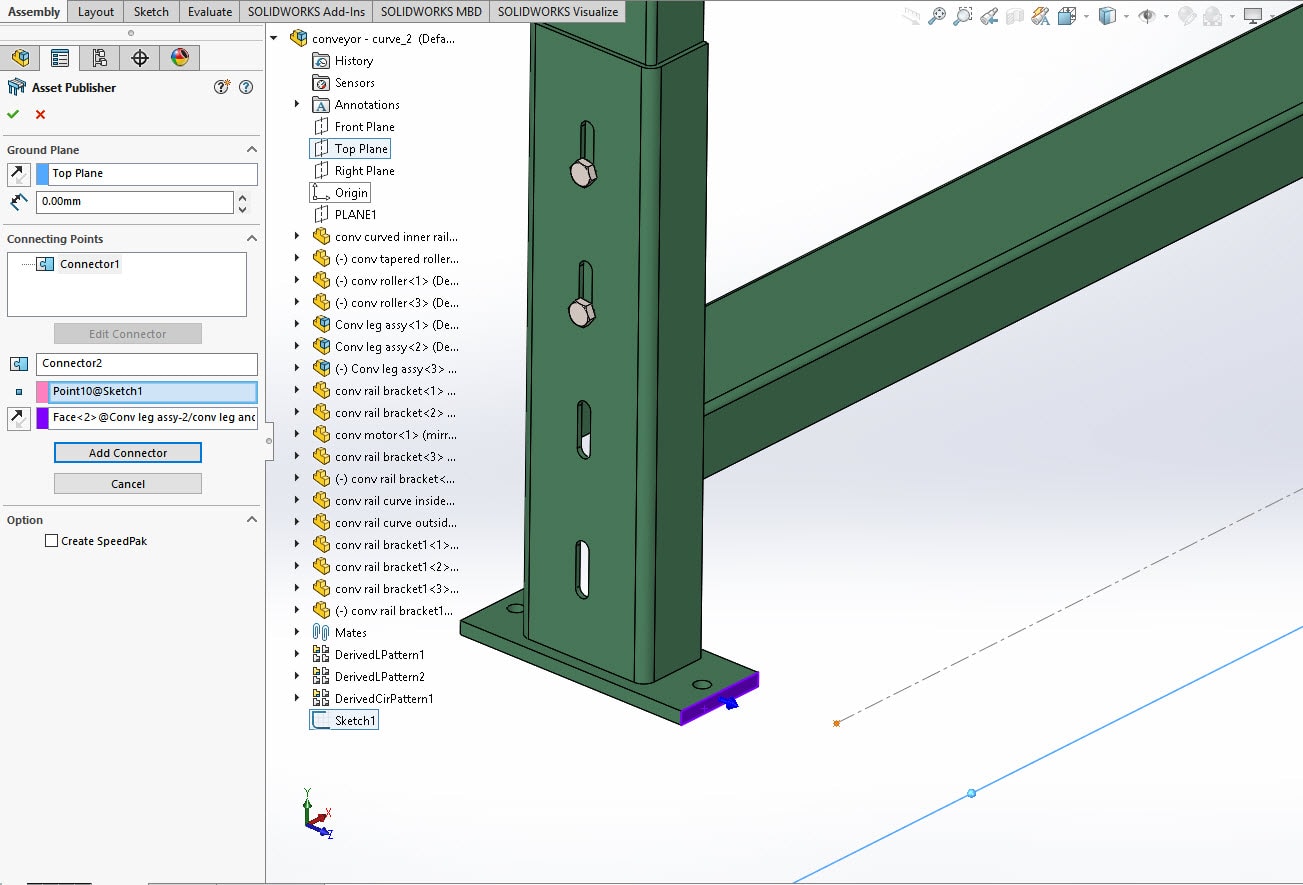
Now for this particular example the sketch points make it easier to create my connectors. This way I can use a centered connection point. If I didn’t use the centered sketch points I would need to put two connectors per end since I need to select vertices or points as the connection point and I don’t have any vertices in the center. Using one on each side would be necessary so I can orient my rails any direction I want. Regardless, sketch points make it very easy to define the connecting points.
Once I’ve selected all my connection points I COULD use the Speedpak Option to automatically create a Speedpak for this assembly.
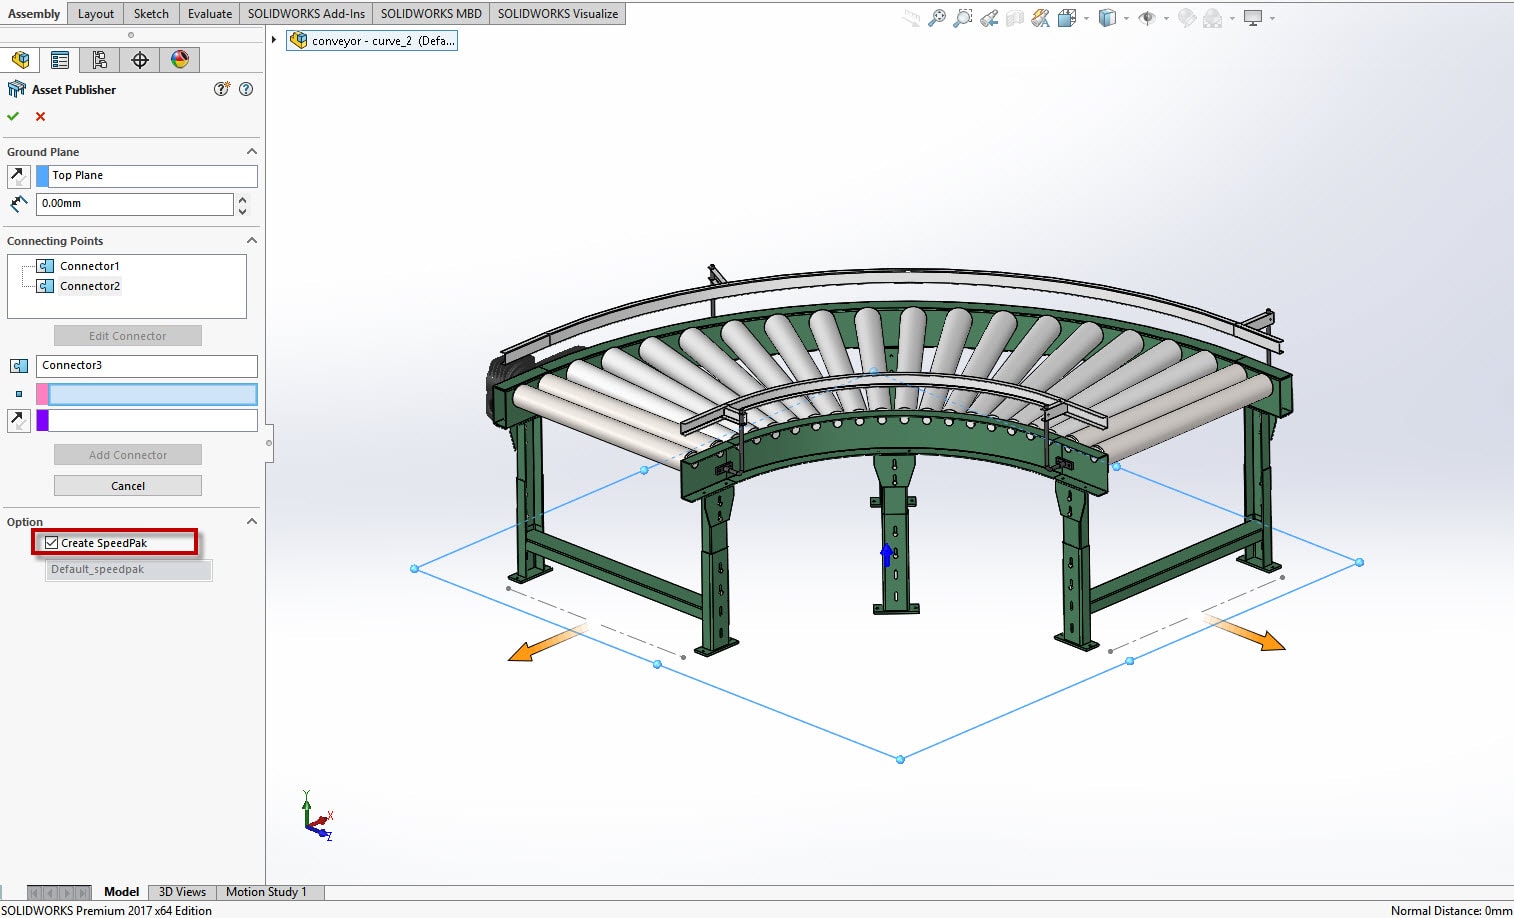
But I’m not a huge fan of how the Asset Publisher creates the Speedpak. I can do better, and I’ll show you what I mean in a minute, but let’s look at what the Asset Publisher creates for my Speedpak. By default, the Asset Publisher creates a Speedpak called “Default_Speedpak” and only grabs the pertinent information to mate up assembly with Magnetic Mates. Everything else is just graphical.
So, by using the default, I DO get a super fast assembly that can be used for layout work. All that SOLIDWORKS is loading for mating is the faces and sketches needed to make the Magnetic Mates work. Sounds awesome at first, but when I go to use that assembly in a layout, picking those couple of small faces or the sketch to move my conveyor around can be difficult.
The other little nuance with the Speedpak option for the Asset Publisher you may see is where you can’t even chose it as an option!
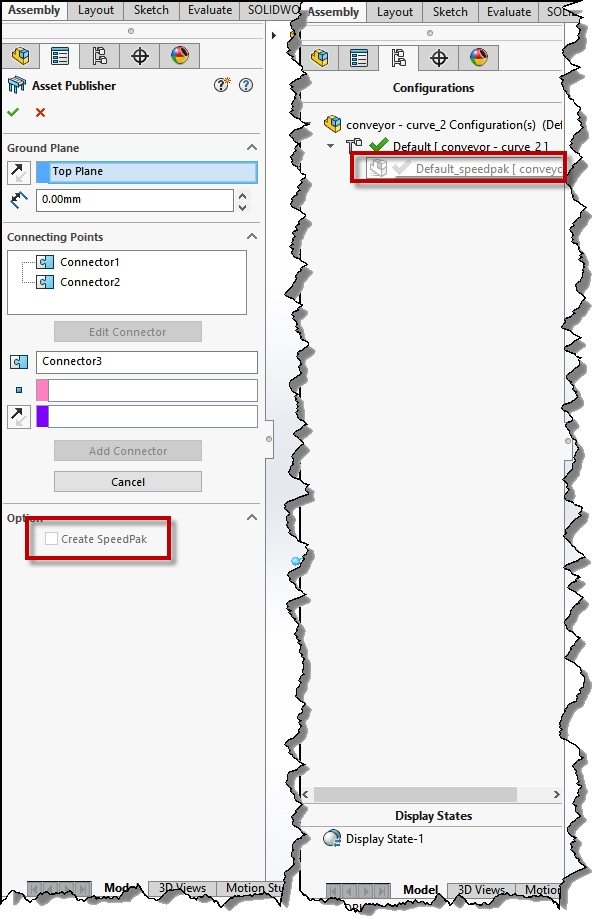
This is because the default Speedpak configuration is already being used, so in that case you might think you’re out of luck. But lucky for us, we could still use this Default Speedpak in our layout assemblies to make our top level layout super fast. But if we want an easier to use Speedpak, how do we modify the default Speedpak the Asset Publisher created for us to include some extra geometry to grab?
If I go to my configurations, drop down to the Default Speedpak, RMB, and select Edit Speedpak I can add additional geometry that will make it easier for me to move my conveyors around. In this case I’ll include the rails too. I would also include anything I need to have readily available for mating at my top level assembly.

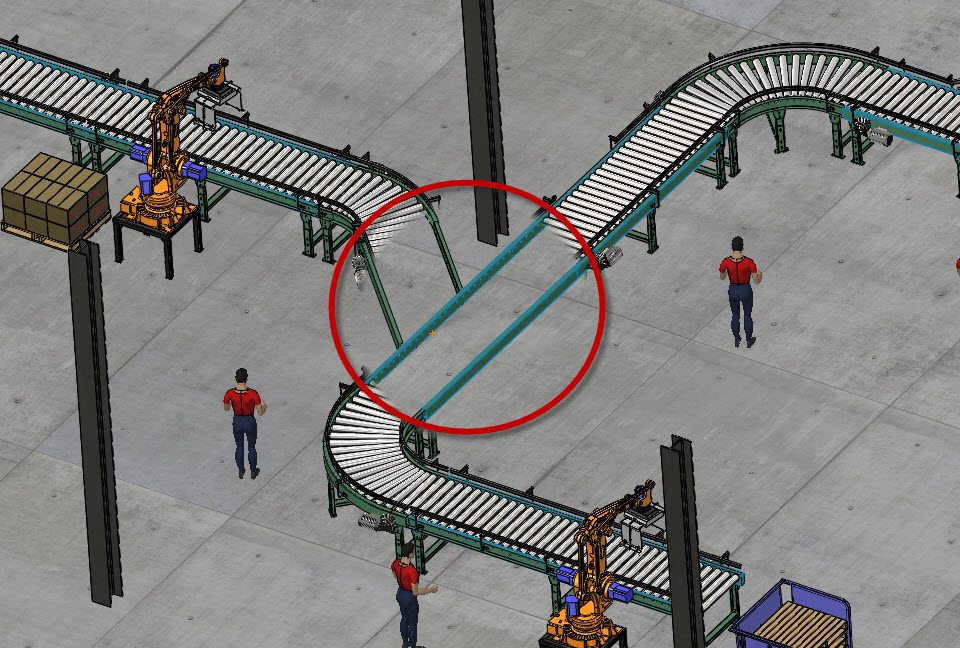
We now have easy to move assets that we can be used in lightning fast assemblies for layout work!
If you have any questions or comments feel free to leave them below!
Brandon Nelms
Application Engineer
Computer Aided Technology, Inc