How to Leverage Animation Data from SOLIDWORKS 3D CAD Within SOLIDWORKS Visualize Professional
 SOLIDWORKS Visualize, introduced to the SOLIDWORKS product suite in 2016, currently offers the option to export animation files from SOLIDWORKS 3D CAD to the SOLIDWORKS Visualize Professional package. If you are running SOLIDWORKS Visualize Standard, it will NOT be possible for you to render animation files. SOLIDWORKS Visualize Professional is a requirement.
While it is possible to fully define your animation within the SOLIDWORKS Visualize Professional interface, you might save some time by exporting your existing animation from SOLIDWORKS 3D CAD. You might also find that you are most familiar with the SOLIDWORKS 3D CAD commands for creating animations. In this blog, we will take a simple assembly from SOLIDWORKS 3D CAD, create a simple animation, and export to SOLIDWORKS Visualize Professional with just a few easy steps.
How do I know if I have SOLIDWORKS Visualize Professional?
Launch the application and look at the introductory splash screen. You should see “Professional” in the title.

You can leave SOLIDWORKS Visualize Professional closed to start this process.
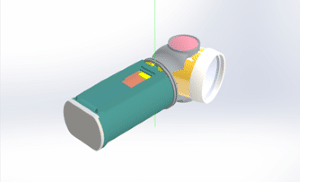
Open an assembly file in SOLIDWORKS
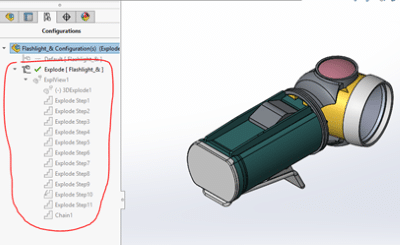
In this example, we are going to open an assembly from the SOLIDWORKS Essentials training course that already has an exploded configuration defined. You can use any assembly file you wish and you can define the exploded steps.
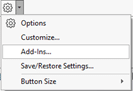
Turn on the SOLIDWORKS Visualize add-in
This can be found under tools > add-ins.
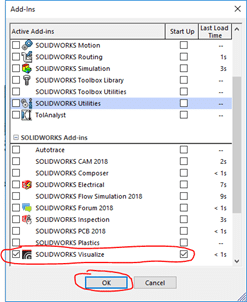
To verify that the add-in is working, look for the SOLIDWORKS Visualize tab in the command manager.

Create a simple animation study within SOLIDWORKS 3D CAD
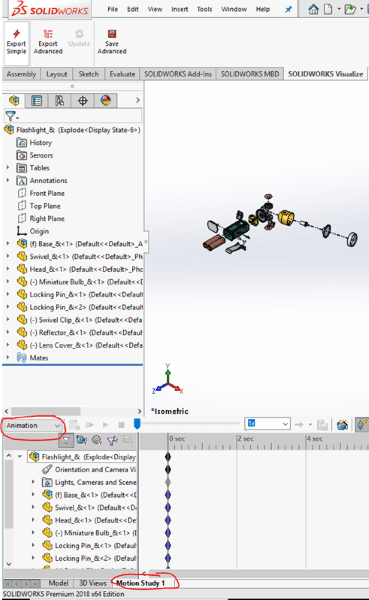
At the bottom of each assembly file created in SOLIDWORKS 3D CAD, there is a default “Motion Study 1” tab present. Expand this tab. Note that the study has no animation steps defined and the study type is set to “Animation”.
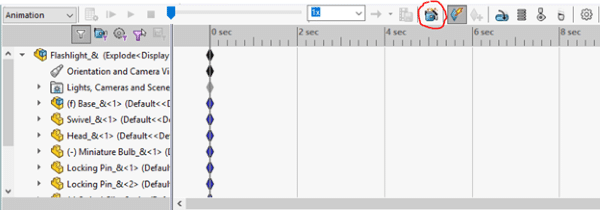
To extract the explode steps from the model configuration into a simple animation study, we are going to use the “Animation Wizard” icon.
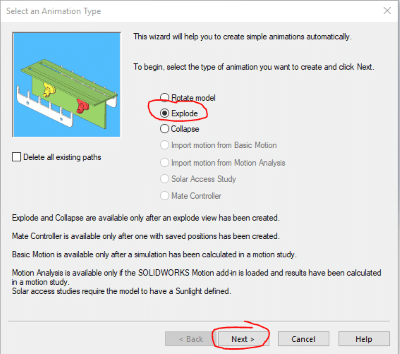
Choose the radio button for “Explode” and then hit “Next”.
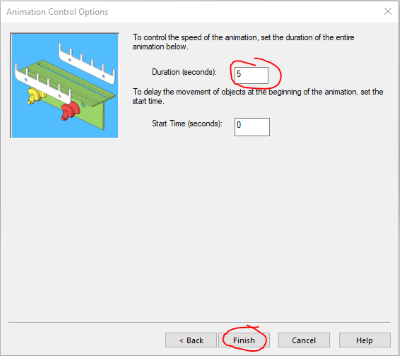
Specify the duration (I changed mine to 5 seconds from the default 15 seconds) and start time. Then hit “Finish”.
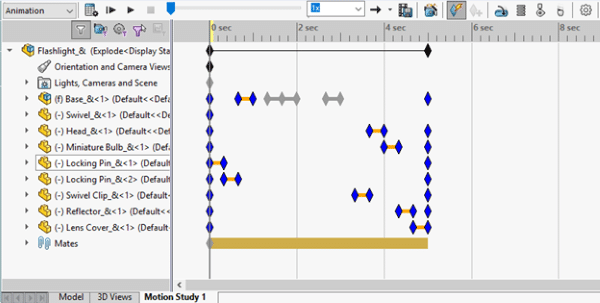
This creates the animation steps. You can see that the study ends at five seconds on the timeline.
Exporting the animation to SOLIDWORKS Visualize Professional
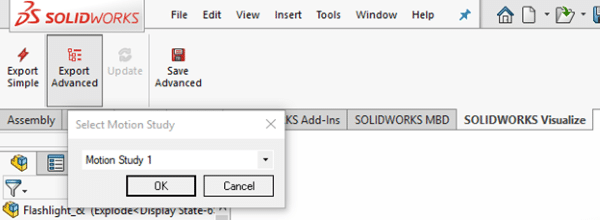
With the SOLIDWORKS Visualize tab active in the command manager, click the icon labeled “Export Advanced”. This option exports the materials and appearances which were defined in SOLIDWORKS 3D CAD along with the animation study information. You will need to select the desired study from the drop-down menu offered. In this case, we choose “Motion Study 1”. Click OK.
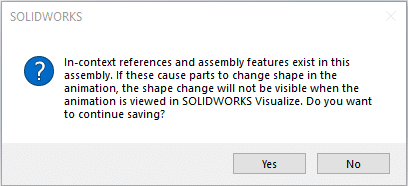
In-context relations note
If the study involves part geometry that changes throughout the study, it will not carry over into SOLIDWORKS Visualize Professional. This is a limitation. Click “Yes” to save.
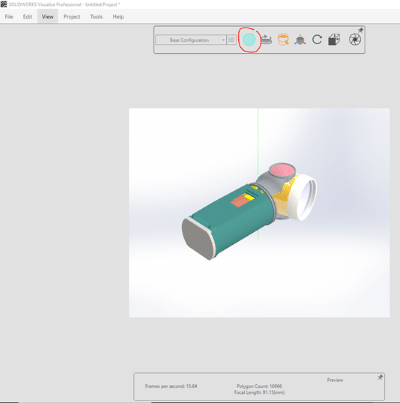
This initiates a new SOLIDWORKS Visualize Professional session and automatically imports the model and animation data into a new project. Set the renderer selection to “Preview” for better performance while you make edits to the animation.
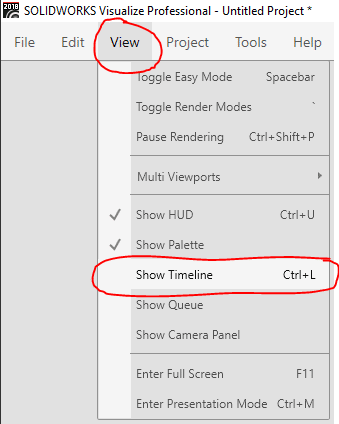
If you cannot see the animation steps in SOLIDWORKS Visualize Professional, the tool can be turned on by going to View > Show Timeline. This can also be achieved through the hotkey Ctrl+L.
You should see a toolbar like this (shown below) at the bottom of the user interface. To verify that the animation steps are working click the “Play/Pause” button from the Timeline.

Save the SOLIDWORKS Visualize Professional project before making adjustments. This way the animation steps are preserved. File > Save.
From here, the normal operations would apply within SOLIDWORKS Visualize Professional. Once you have fine-tuned the study (animation steps, applied new appearances, scenes, backplates, lights, etc.), go ahead and define the options under “Output Tools”.

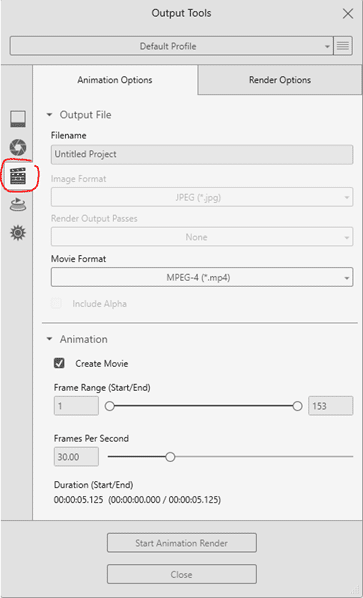
Please note that these render jobs can take a very long time to process. Sometimes it may take days to calculate all of the animation frames. Keep this in mind when you are specifying the frame rate, image resolution, and duration of the animation. It is recommended to start with a very low resolution at first to be sure that everything is working as expected, then proceed with your desired settings.
And there you have it. I hope you found these SOLIDWORKS tips and tricks helpful. For more helpful hacks check out the related articles below.

Related Articles
10 SOLIDWORKS Tips to Optimize Your Workflow
Slow SOLIDWORKS Load Time? Check This Setting
SOLIDWORKS Frequently Asked Questions: Top 10 Tips and Tricks of 2017
About the Author
 Matt Haywood has a Bachelor of Science in Mechanical Engineering from Western Michigan University. After several years of experience in the automotive and office furniture industries, he joined Fisher Unitech in 2003 as an Application Engineer. Fisher Unitech created a dedicated SOLIDWORKS support group shortly thereafter, and Matt was one of the founding members of the support team. As a Senior Support Engineer today, Matt enjoys working with customers to resolve SOLIDWORKS technical issues and teaching SOLIDWORKS training classes.